How To Level Your RV Wherever you’re camping
Whether you just pulled into a spot at an RV park or you’ve found the perfect spot to boondock, leveling your RV is one of the first things you’ll do.
RV leveling is important for two reasons. For one thing, your RV will be way more comfortable when it’s level. Perhaps a more important reason to level your RV is because of your absorption refrigerator. Absorption refrigerators are designed to function best when they are level. If your RV isn’t level, your refrigerator has to work extra hard to make your fridge cold. It relies on chemical reactions and needs gravity to make them work efficiently. Even occassionally being unlevel will shorten its life.
Maybe more importantly, being unlevel can also lead to your refrigerator overheating and catching fire when you are out camping, and nobody wants that. Here are some great RV leveling tips that will help speed up the process so you can get to doing what you love.
1. Pick a flat RV site wherever possible
Leveling your RV will be a lot easier if you start by parking your RV on a fairly flat area. Pick out a nice site that doesn’t have too much of a slope to it. You can learn how level campsites are ahead of time by reading reviews on RV LIFE Campgrounds.
2. Always Level side-to-side first
Level your RV side-to-side before you chock your wheels. You’ll use your tongue jack to level front-to-back after your rig is level side-to-side.
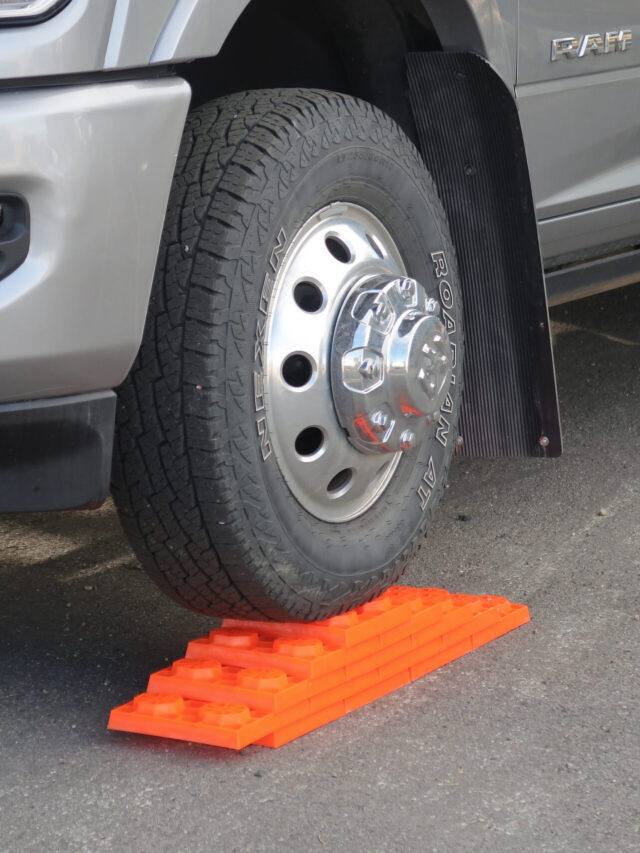
3. Use Leveling blocks to level your rv
You can use blocks of wood or plastic Lego-style leveling blocks when you are leveling side-to-side. However, the easiest way to level your RV is with an Andersen leveler.
An Andersen leveler is a curved wedge that you simply drive onto until your RV is perfectly level. You can then use a smaller chock on the opposite side of the wheel to keep it from rolling.
4. RV leveling is Easy with a bullseye level
A bullseye level is a round level with concentric rings printed on its face. You’ll know your RV is perfectly level when the bubble is in the exact center of the level.
Using a bullseye level allows you to see exactly which side of the RV needs to be raised. You can simply leave it in place when it’s time to level front-to-back.
5. RV Leveling is even easier with a Level Mate Pro system
The Level Mate Pro system is an app-based system that uses a Bluetooth-enabled electronic leveling sensor to send a message to the Level Mate app on your phone. You simply have to mount the sensor somewhere inside your RV, set it to your preferences using your smartphone, and calibrate it. After that is all done, the Level Mate Pro app tells you which side of the RV needs to be raised and and by how much. It really makes RV leveling a breeze.
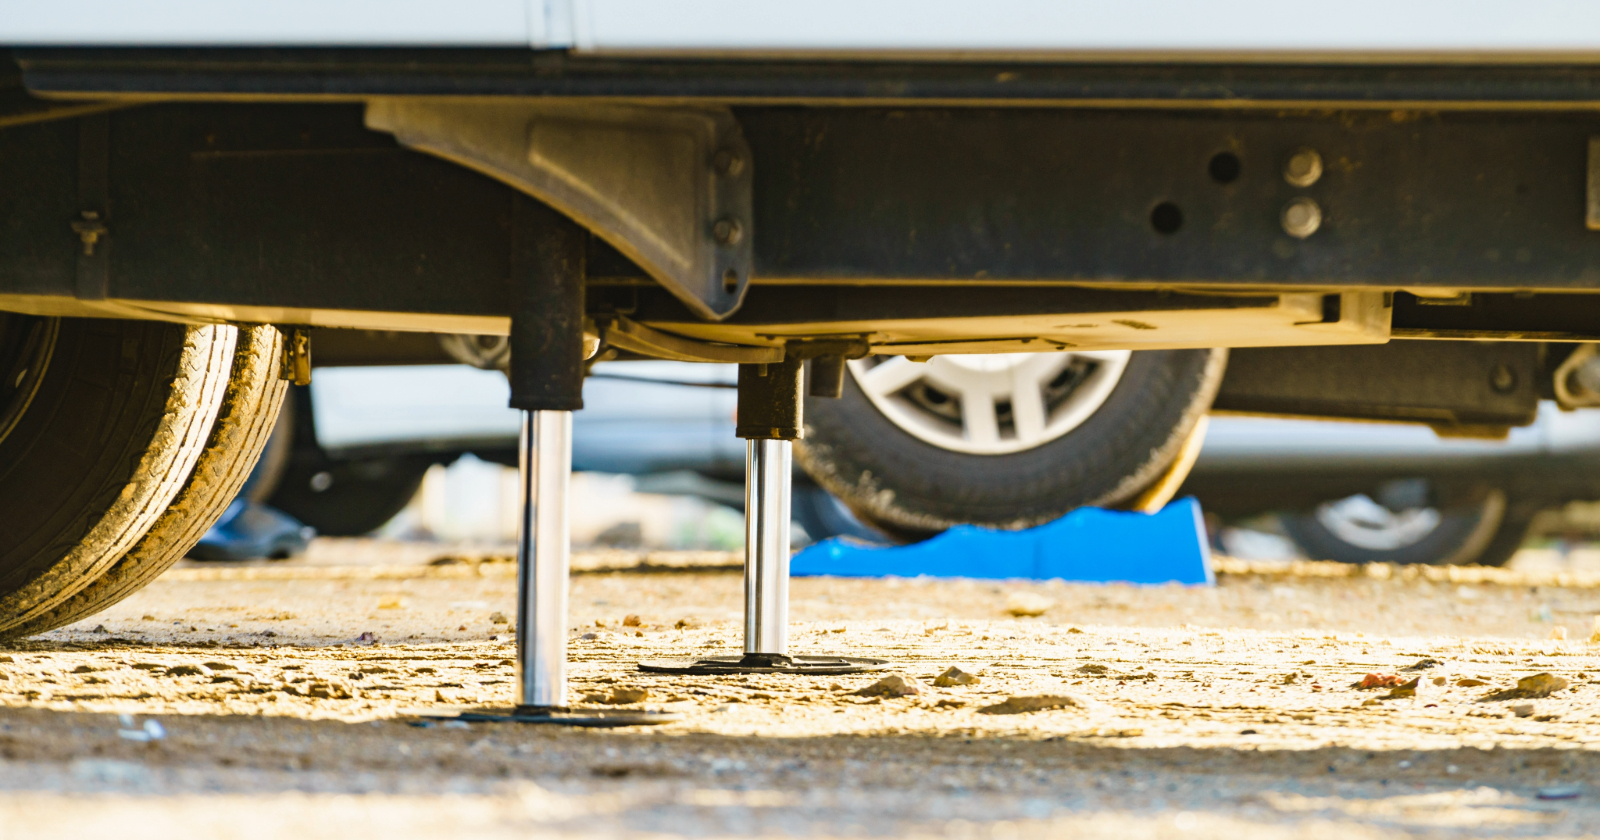
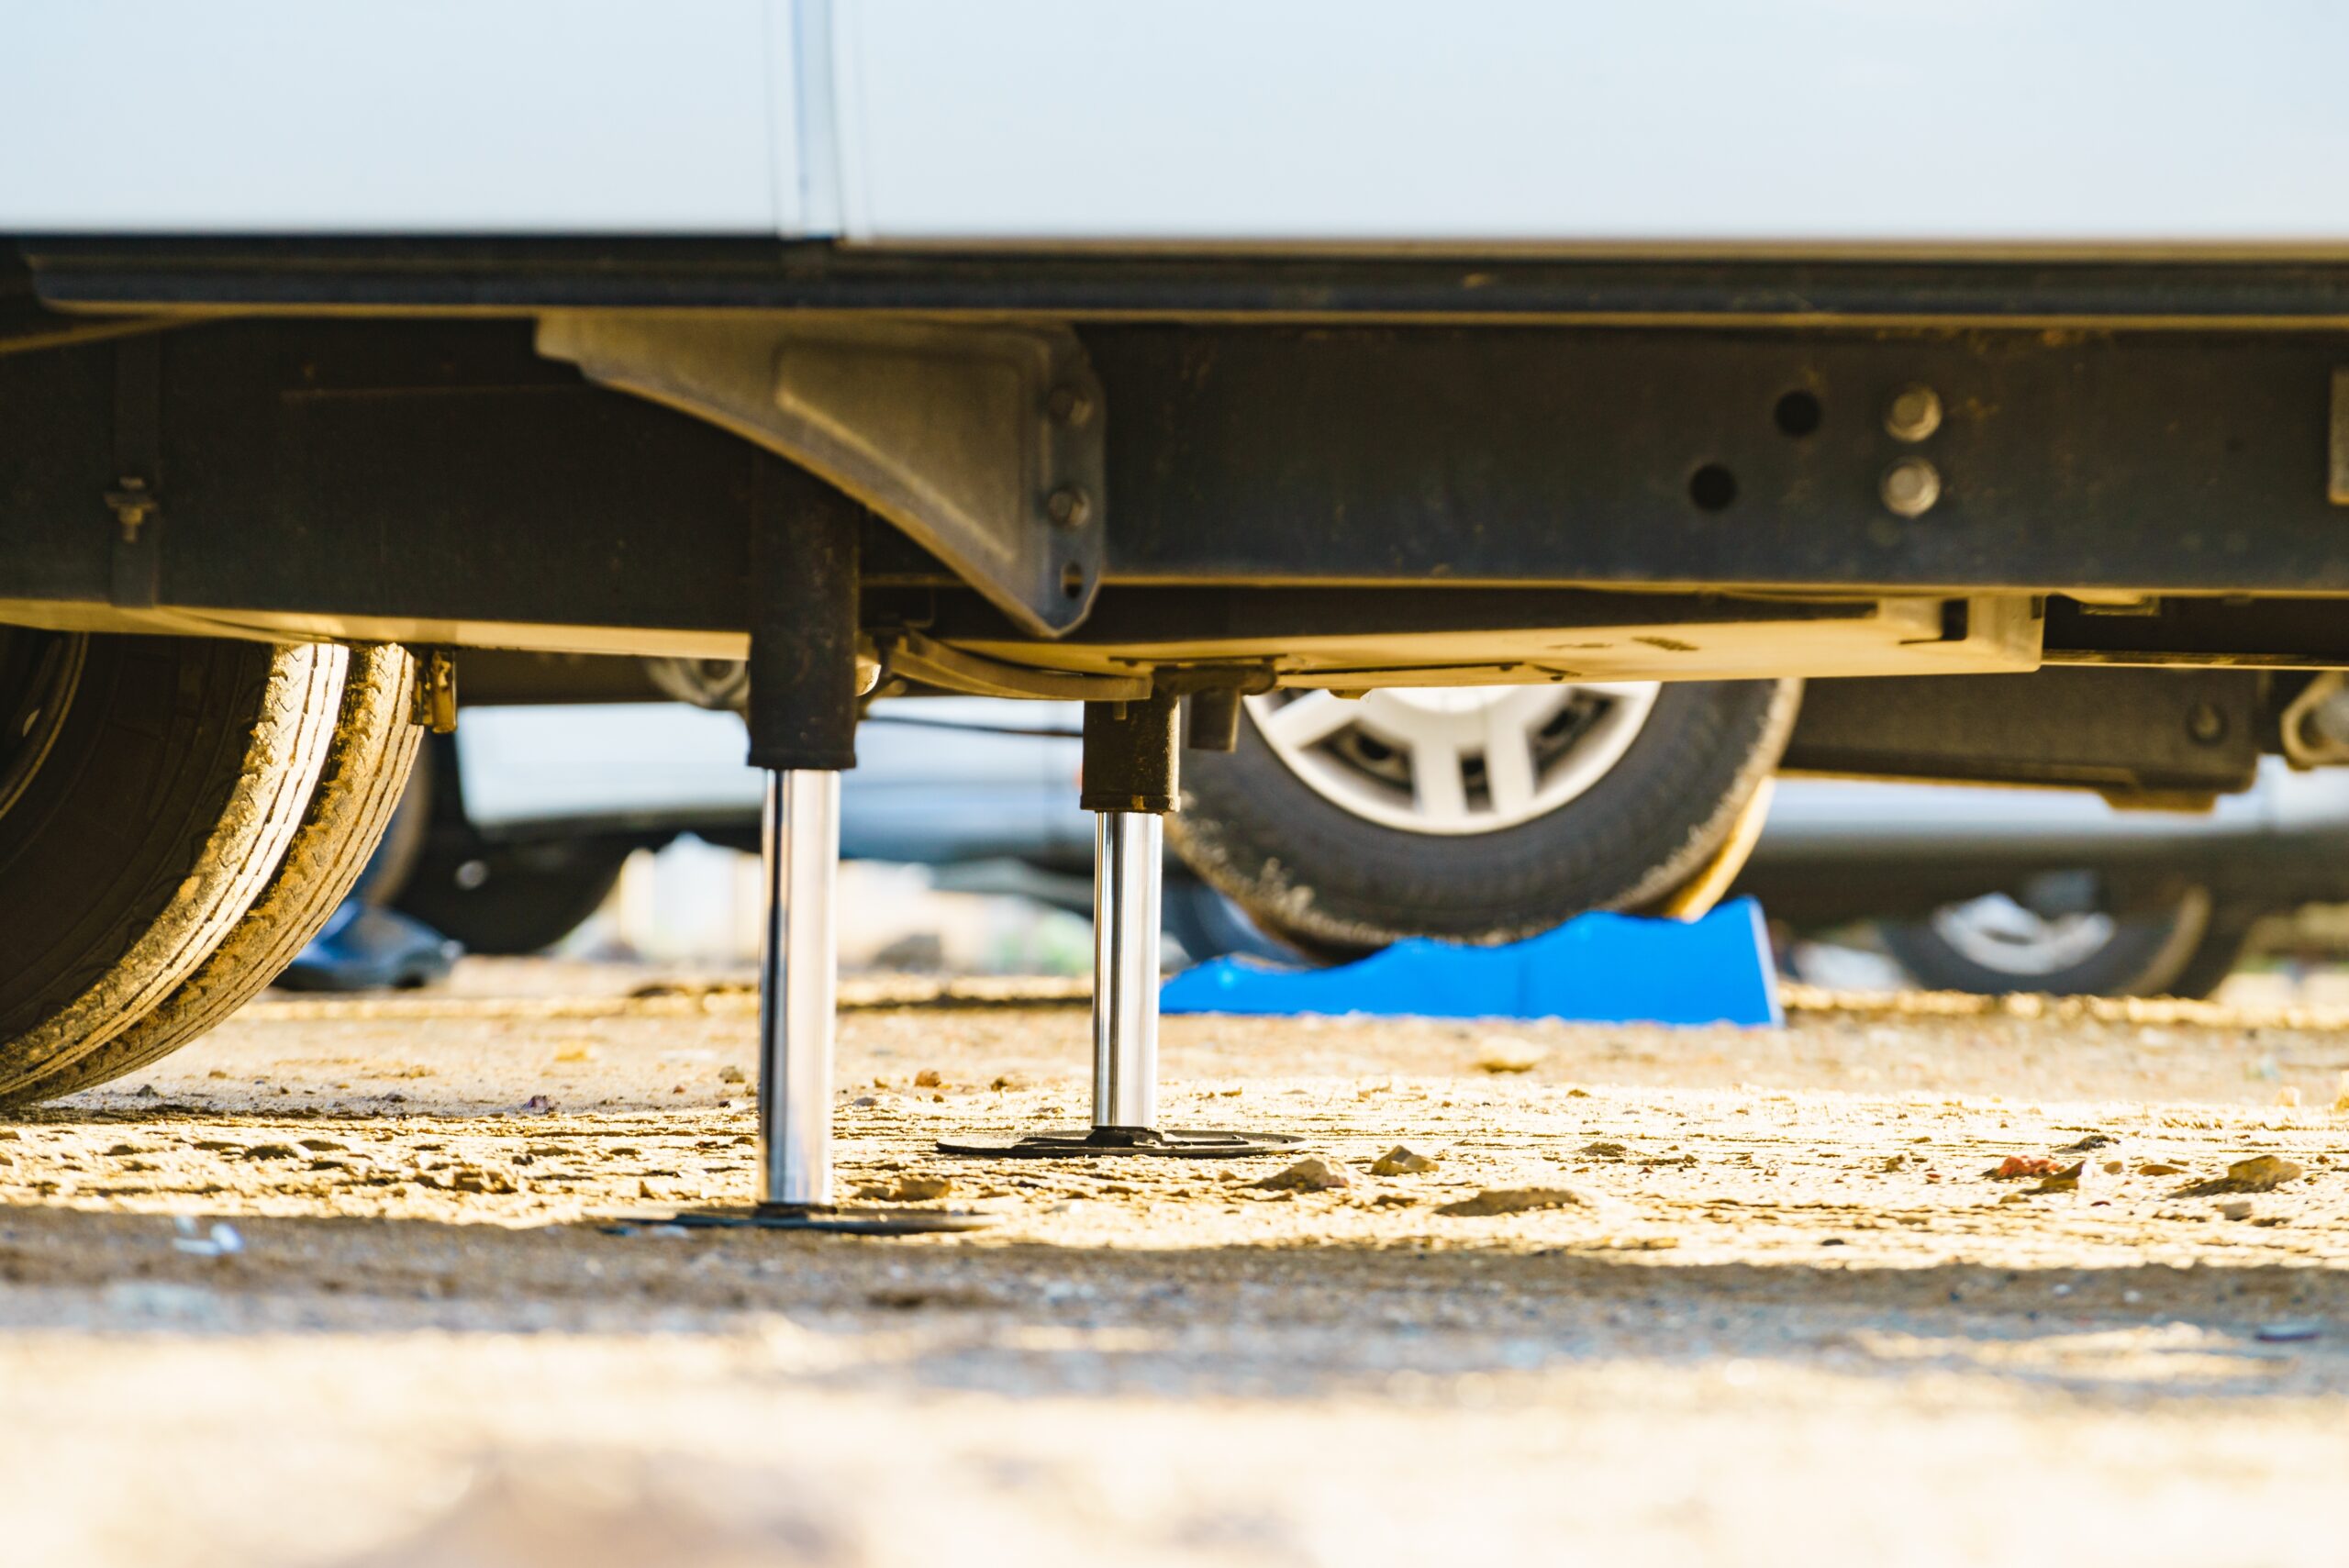
6. Stabilizer jacks should never be used to level your RV
The stabilizer jacks located at the corners of your RV are for reducing your RV’s bouncing and wobbling when you are walking in the RV.
Stabilizer jacks aren’t strong enough to take the weight off your RV. Trying to use stabilizer jacks to level your RV can result in damaging them or the frame of your RV. Don’t do it!
7. Tips for Using automatic RV leveling systems
Many RVs now come with automatic leveling systems that allow you to level your RV with just the touch of a button. Then the RV does all the work of leveling the RV using hydraulic jacks.
However, many RVers claim these systems raise the RV too high, and they prefer to level it manually as much as possible. If you are using auto-leveling, you’ll still want to find a flat area to park your RV. The following tips will help you use auto-leveling on your RV.
- If there is any slope on the site where you are parking your RV, park with the front of the RV at the lowest part of the slope. That way, the front of your RV will be lifted to become even with the back. Even though the front wheels may be lifted off the ground, the back wheels will maintain contact. This is important because the parking brake is in your rear wheels and you’ll want it to stay engaged.
- Consult your owner’s manual.
- Always use jack pads under your hydraulic jacks to help displace the weight of the RV. You can use plastic leveling blocks or 10″x10″ pieces of 2×10 or 2×12 lumber.
- Always chock in front and back of each of your wheels.
- Use the auto-leveling control panel to see which corners of your RV are low and press the corresponding button to automatically level them.
Find Your Next campsite
For all of your camping and trip planning needs, look no further than RV LIFE Campground Reviews and RV LIFE Trip Wizard. Campground Reviews is a trusted source of campground and RV park reviews offered by camping and RV enthusiasts just like you. With its accompanying RV LIFE App, RV Trip Wizard gets you to your camping destinations utilizing RV-friendly routes specific to your RV and travel preferences.
Been to a campground lately? Don’t forget to leave a review! Reviews help other RVers like yourself, and they help the campground. Leave a campground review today!
Related articles: