

4 Daily Preventive Engine Checks To Avoid Unnecessary Breakdowns
An engine is a pretty complicated piece of machinery, but there are simple preventive maintenance checks anyone can do that will help you avoid some of the more common breakdowns.
The four engine checks outlined below are for your typical truck/van/Class C RV gas engine and they take under five minutes to do. We recommend doing them every time before you do any driving longer than an hour.
Is this always necessary? Maybe not, but five minutes of your time isn’t much and could mean a big difference to your engine’s performance.
To do these engine checks, begin by making sure you are on a relatively level surface and pop your hood.
1. Check your engine oil
Your engine oil is what keeps your engine’s components lubricated. Having the correct amount will prevent unnecessary damage to your engine.
Luckily, this check is pretty straightforward, easy to do, and most people probably already have an idea of how to do it, but we’ll review it here.
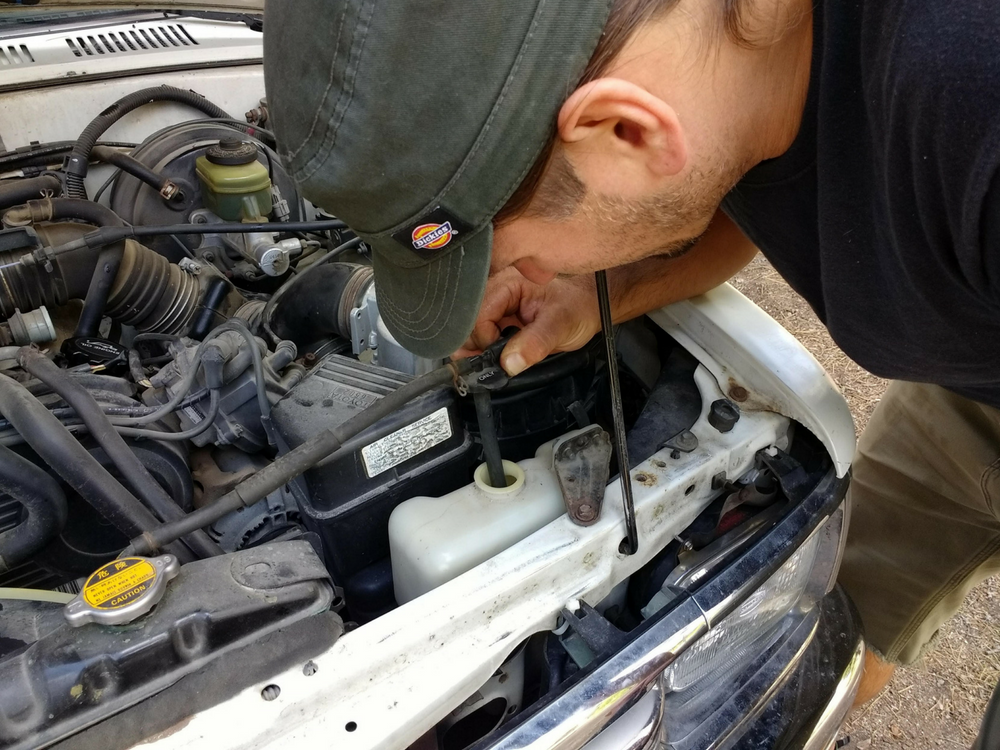
First, find the engine oil dipstick handle (most likely it is yellow and in a very accessible place). Pull out the dipstick and use a clean rag to wipe it clean.
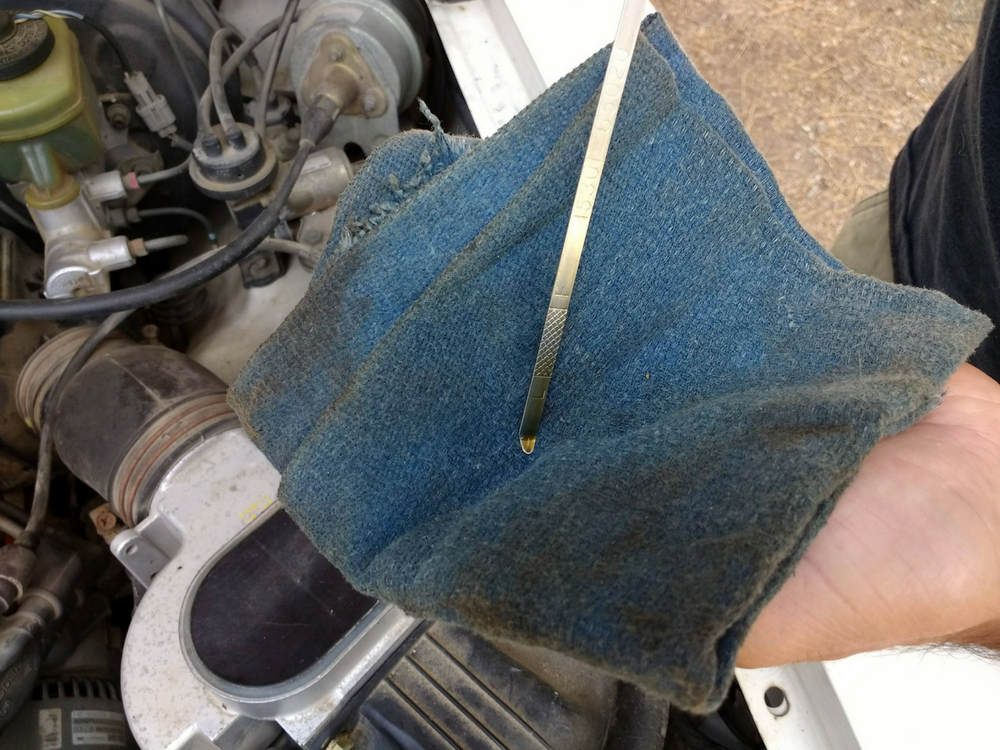
Reinsert it all the way back in and then pull it out again. You will see two lines on the stick, one labeled “ADD” and one is labeled “FULL.” Your oil should be covering the stick to a point between these two lines.
If it is below the “ADD” line, you need to add some engine oil. If it is above the “FULL” line, you need to drain some engine oil. Remember having too much oil can be just as damaging as not having enough as it can cause you to blow a head gasket.
2. Check your coolant
The coolant is what keeps your engine cool when driving. Obviously, it is a crucial component to your engine working correctly. Luckily, if you have a major leak and you begin overheating, you will see it on your temperature gauge and most likely get a warning.
However, if this happens, you will need to stop immediately, no matter how inconvenient. That is why we recommend doing this check before hitting the road so that if there is an issue it can be addressed in a more convenient location.
Typically the coolant reservoir is a semi-opaque white tank that you’ll find near the radiator. Unscrew the cap and look into the tank to see where your level of coolant is. There are lines in the tank labeled typically as “ADD” and “FULL.” As with the engine oil, the amount of coolant should fall between these lines.
If you are low on coolant, add some more, but also take note of this and be sure to check it again the following day. If you are low again, it typically means you have a leak which will need to be addressed.
3. Check your serpentine belt
The serpentine belt is what drives many of the components of your engine, such as the radiator fan, the alternator, and the coolant pump. Typically problems happen when the belt becomes old and brittle and cracks while you’re driving. If this happens, you are stuck and will be waiting on the side of the road for the tow truck.
Another reason to avoid this preventable breakdown is that a broken serpentine belt whipping around in your engine can cause additional damage under your hood.
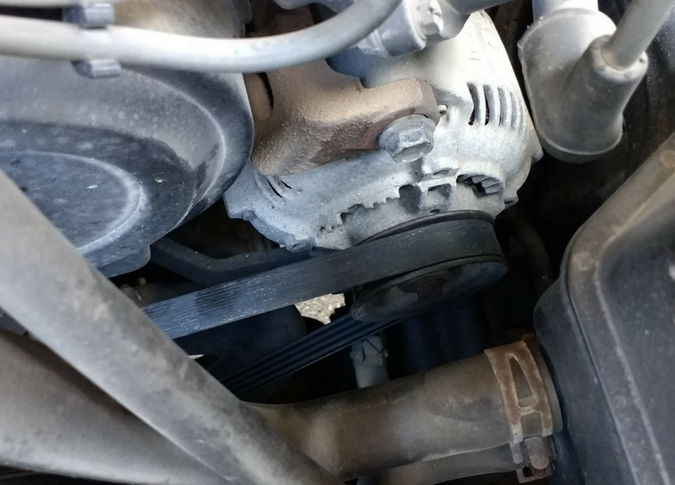
To do this check, look under your hood and find your serpentine belt. It will be a long thin piece of material that wraps around pulleys and through components of your engine. Find a spot where you can reach the belt and pull gently on it to check the tension. It shouldn’t be too tight or too loose, and it shouldn’t be visually cracked.
If it’s too loose or too tight, it needs to be adjusted. If it’s cracked or brittle, it will need to be replaced.
Depending on the age of your vehicle, you may also have a fan belt. Do the same check on that as you did with the serpentine belt.
4. Check your brake fluid
To be accurate, this is not part of your engine, but it is under the hood and important so we’ve included it here. Your brake fluid is what causes your brake pads to press against your calipers and in turn stops your vehicle. Having the correct amount is important to the overall operation of your brakes.
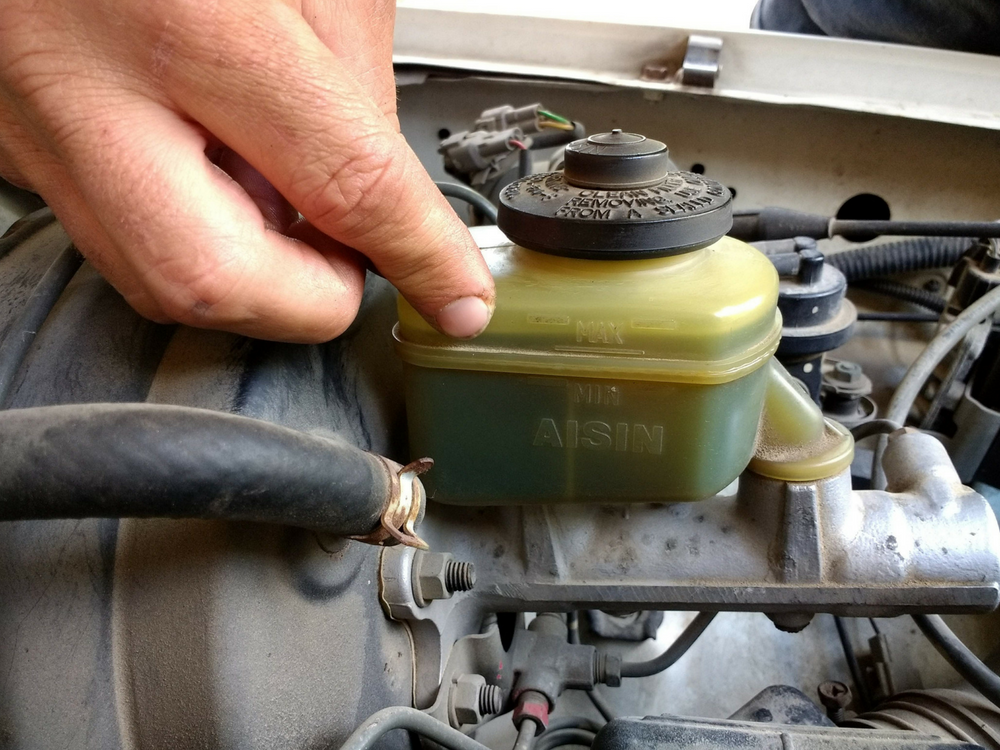
Find your brake fluid reservoir under your hood. It is typically a smaller semi-opaque tank that visibly has liquid in it with a cap that usually reads DOT 3 FLUID or BRAKE FLUID. On the outside of the tank, there will be two lines labeled “minimum” and “maximum.” Your fluid line should fall between these two lines.
If your level is below the minimum line, something is wrong such as a leak. If it is above the minimum line, but getting close to it, you don’t need to necessarily add more fluid, just make a note and continue to check it. It’s a good chance that it means your brake pads are getting old.
The more used and thinner your brake pads get, the lower your brake fluid level will get, making this a great indicator of when you might need to replace your brake pads. However, even with used brake pads, your level should never go below the minimum line.
If you are planning on replacing your brake pads, keep your brake fluid level closer to the minimum line (but not below it), as putting new brake pads on will cause your brake fluid to raise, and if it’s too high, it can overflow. Brake fluid is corrosive, so this can be a big pain if it were to get on to your vehicle’s paint.
These simple engine checks will help you avoid some unnecessary breakdowns and additional costly damage to your engine. So slow down, pop the hood, and get to know your engine a bit. Once you’ve done these checks a couple of times, it will become part of your daily on-the-road routine.
Keep track of your RV maintenance
Keep track of all your RV maintenance with an online tool such as RV LIFE Maintenance. Not only can you keep all your maintenance records and documents in one place, you’ll receive timely reminders via email when maintenance is due and potentially avoid a costly repair or serious accident.


#2, Coolant Level. Typical plastic reservoirs are marked ‘hot’ and ‘cold’ referring to engine temperature when the check is done. Coolant level should be close to the ‘hot’ line if engine is at normal operating temperature, and close to the ‘cold’ line after it has completely cooled down.
From experience, most larger vehicles have a lot of accessories hanging on the front of the engine (mine had 10 pulleys to go under or over). When your serpentine goes, you are up the creek with no paddle. I was able to cover 4 miles to an offramp that happened to have a Myers Auto. The V10 required a 130″ belt, no one stocked in a major metro area. Moral: ALWAYS carry a new serpentine belt for your engine. I even bought a HF installation tool.
You left out power steering fulid.
For me #5 or maybe #1 would be to check your ATF (Automatic Transmission Fluid). The automatic transmission is probably the most costly piece to repair on you tow vehicle, much more than an engine. Also, you may need to change the fluid on a scheduled basis. Towing puts a strain on the fluid and is considered severe service, causing the fluid to need changing more often. Check with your vehicle manufacturer for service intervals. This is a good place to use a quality Synthetic ATF fluid like Amsoil as it reduces the wear and has a longer life and actually improves gas mileage.
Gen set? Brush sets? What the heck?
Good article, but on point #2, Check your coolant.
Never ever ever open the radiator cap when the engine is hot, only the (catch) reservoir at the end of the hose from the radiator cap. The, not so, mechanically inclined may try to open the radiator cap to check the coolant level when the engine is still hot and get the hot coolant fluid on themselves and get burnt really bad.
The radiator is under pressure when the engine is hot.
One more # 5 at least once a week check tire air pressure
I like preventive care. While doing main engine, I also include the gen set. Oil, filter, spark plugs, and brush sets.