10 Steps To Building Out A DIY Camper Van
Building out your own DIY camper van is an exciting project. It can also be overwhelming and seem like a unattainable task.
Here we break down the steps to build out your own DIY camper van.
1. Planning
What are the requirements for your camper van? Planning on how you will use your camper van and what conveniences you will need will be the basis for your camper van plan. Once the basics are decided, you can plan for what your style and personal touches will be.
Laying out your floor plan with painter’s tape and cardboard cutouts will help you visualize your plan. Using online forums such as iRV2 and Class B Forums can help with the planning and building of your camper van.
Careful planning for electrical and plumbing is especially important and should be sketched out on paper to ensure nothing is missed.
2. Budget
Before starting work on building out your own DIY camper van, you must decide on your budget. Starting any project and buying as needed and making decisions as you go will lead to extra spending.
Set a realistic budget with a reasonable contingency amount and plan your build accordingly. Don’t forget to about the specialty RV insurance that might be needed for your vehicle.
3. Electrical
Electrical is a major step in building out your camper van. Some may choose a basic 12V system using only the van’s battery for power.
Adding auxiliary 12V batteries for use while the van is not running will allow you to power items without drawing power from your van’s starter battery. This is a simple setup requiring only an additional battery, battery cable, and a switch to direct power and charging between your van’s battery and your auxiliary battery.
Solar is a popular power option that allows battery charging without relying on your van’s power source. Depending on how often you use your van, the upfront cost of solar can pay for itself in the long run.
If you want the use of some household items that require 120V, you will require a power inverter as part of your electrical system.
4. Plumbing
Most camper vans will have plumbing of some sort. In many cases it is just for running water for a sink.
This type of system is very basic and can be as simple as a plastic water container and hose attached to a manually operated foot pump.
A similar set-up can be used with a powered water pump in place of a manual pump.
5. Framing
Unlike a house where you have flat, square surfaces to work with, vans have curved, uneven metal surfaces that present framing challenges.
Most camper vans have basic layouts due to the limited space so there won’t be lots of walls and multiple levels like a traditional house. Referring to your plans will determine where critical framing may be needed for plumbing and electrical.
Smaller dimension lumber like 1″ x 2″ is preferable as it saves space. When installing wood framing in your camper van make sure you are using proper screws and hardware for attaching to metal. Construction adhesives are also available for attaching wood to metal surfaces.
6. Cabinets and countertops
Cabinet space in most cases will be limited to basic storage and smaller cabinets. That being said, it is often necessary to use unusual spaces that may not be as easy as a square box.
Using ready to assemble cabinets available through IKEA and other stores is an easy way to get professional-looking cabinets. Rather than framing a wall for separation, shelving units can be used for separation and additional storage.
Sections of prebuilt countertop are also available for an easy install. When planning countertops, consider adding fold-down sections or a section that slides under another section for the added countertop area.
7. Flooring and wall paneling
This is where things start to get exciting as you begin to see some finished surfaces.
A popular choice for wall and ceiling covering is pine board. It is easy to work with, cheap and has a soft, cabin feeling which is appealing to many.
Laminate flooring is also a cheap easy to install option. Consider the durability of the material you choose for flooring.
Everyone will have their own vision for the interior of their camper van but considering light colors can help open up the space.
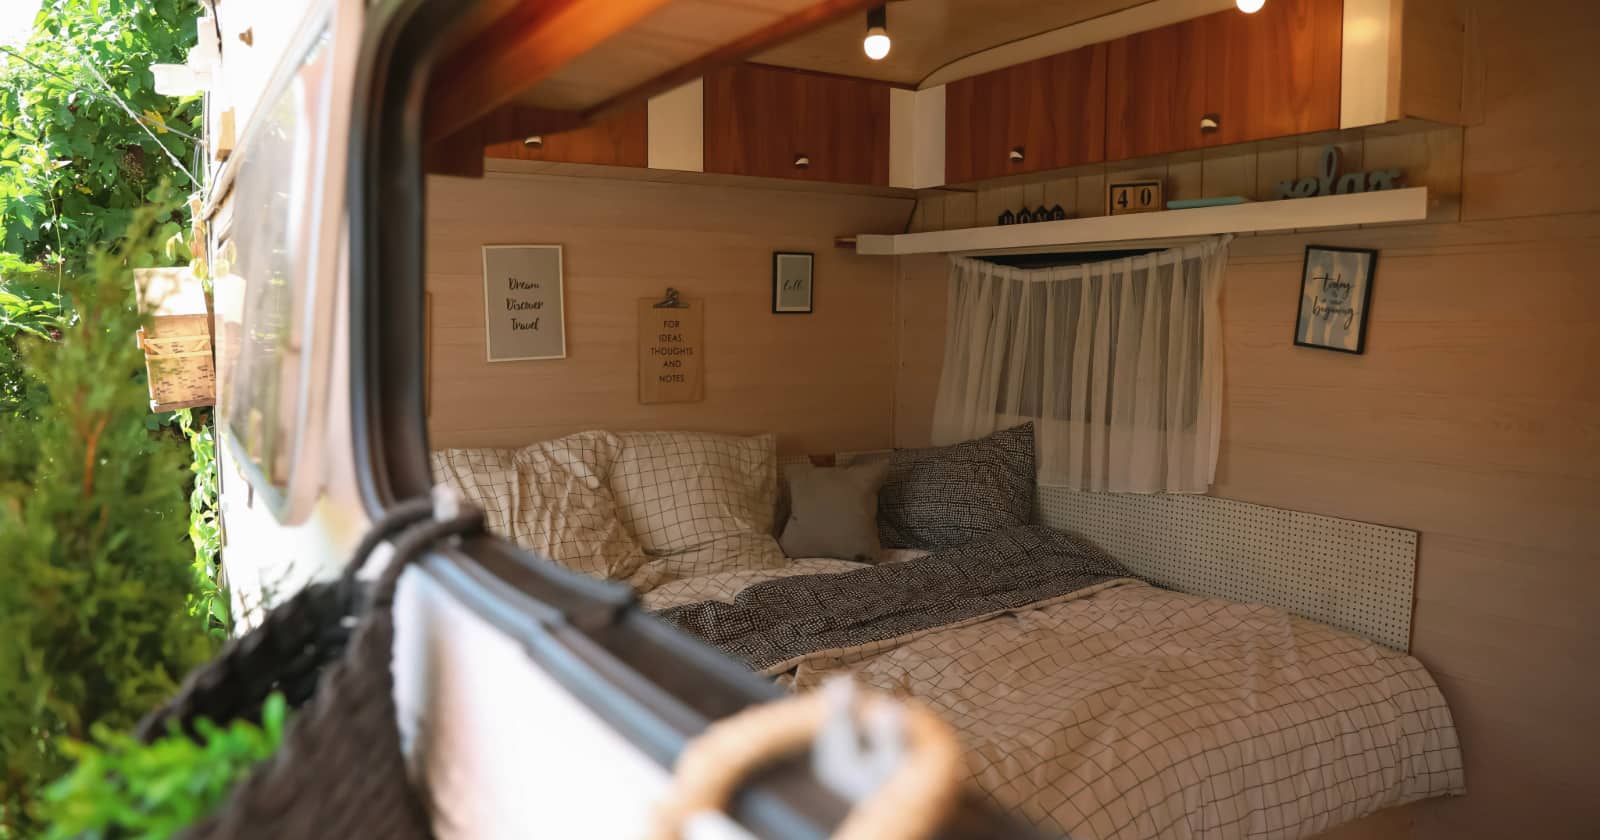
8. Bed
You won’t likely be just pulling the bed from your house and sliding it in the back of your camper van.
A bed frame will have to be built using basic dimensional lumber such as 2″ x 4″ and sheeting such as plywood. This just has to be a basic frame of the desired height.
If design or space requires you to have a bed that folds up or extends, you will need to put more thought into it. In many cases having a bed that doubles as a seat and a bed is the best design.
9. Portable toilet or shower
Depending on your space and preferences, you may want a portable toilet or shower on board. Composting and cassette toilets are popular options for vans and many contain no toilet at all due to limited space and the need to deal with black water.
For showers, you may want to consider a portable outdoor showerhead with a privacy tent, or a solar-heated camp shower.
Some vanlifers prefer just using the campground bathhouses or utilize gym memberships to access showers wherever they travel.
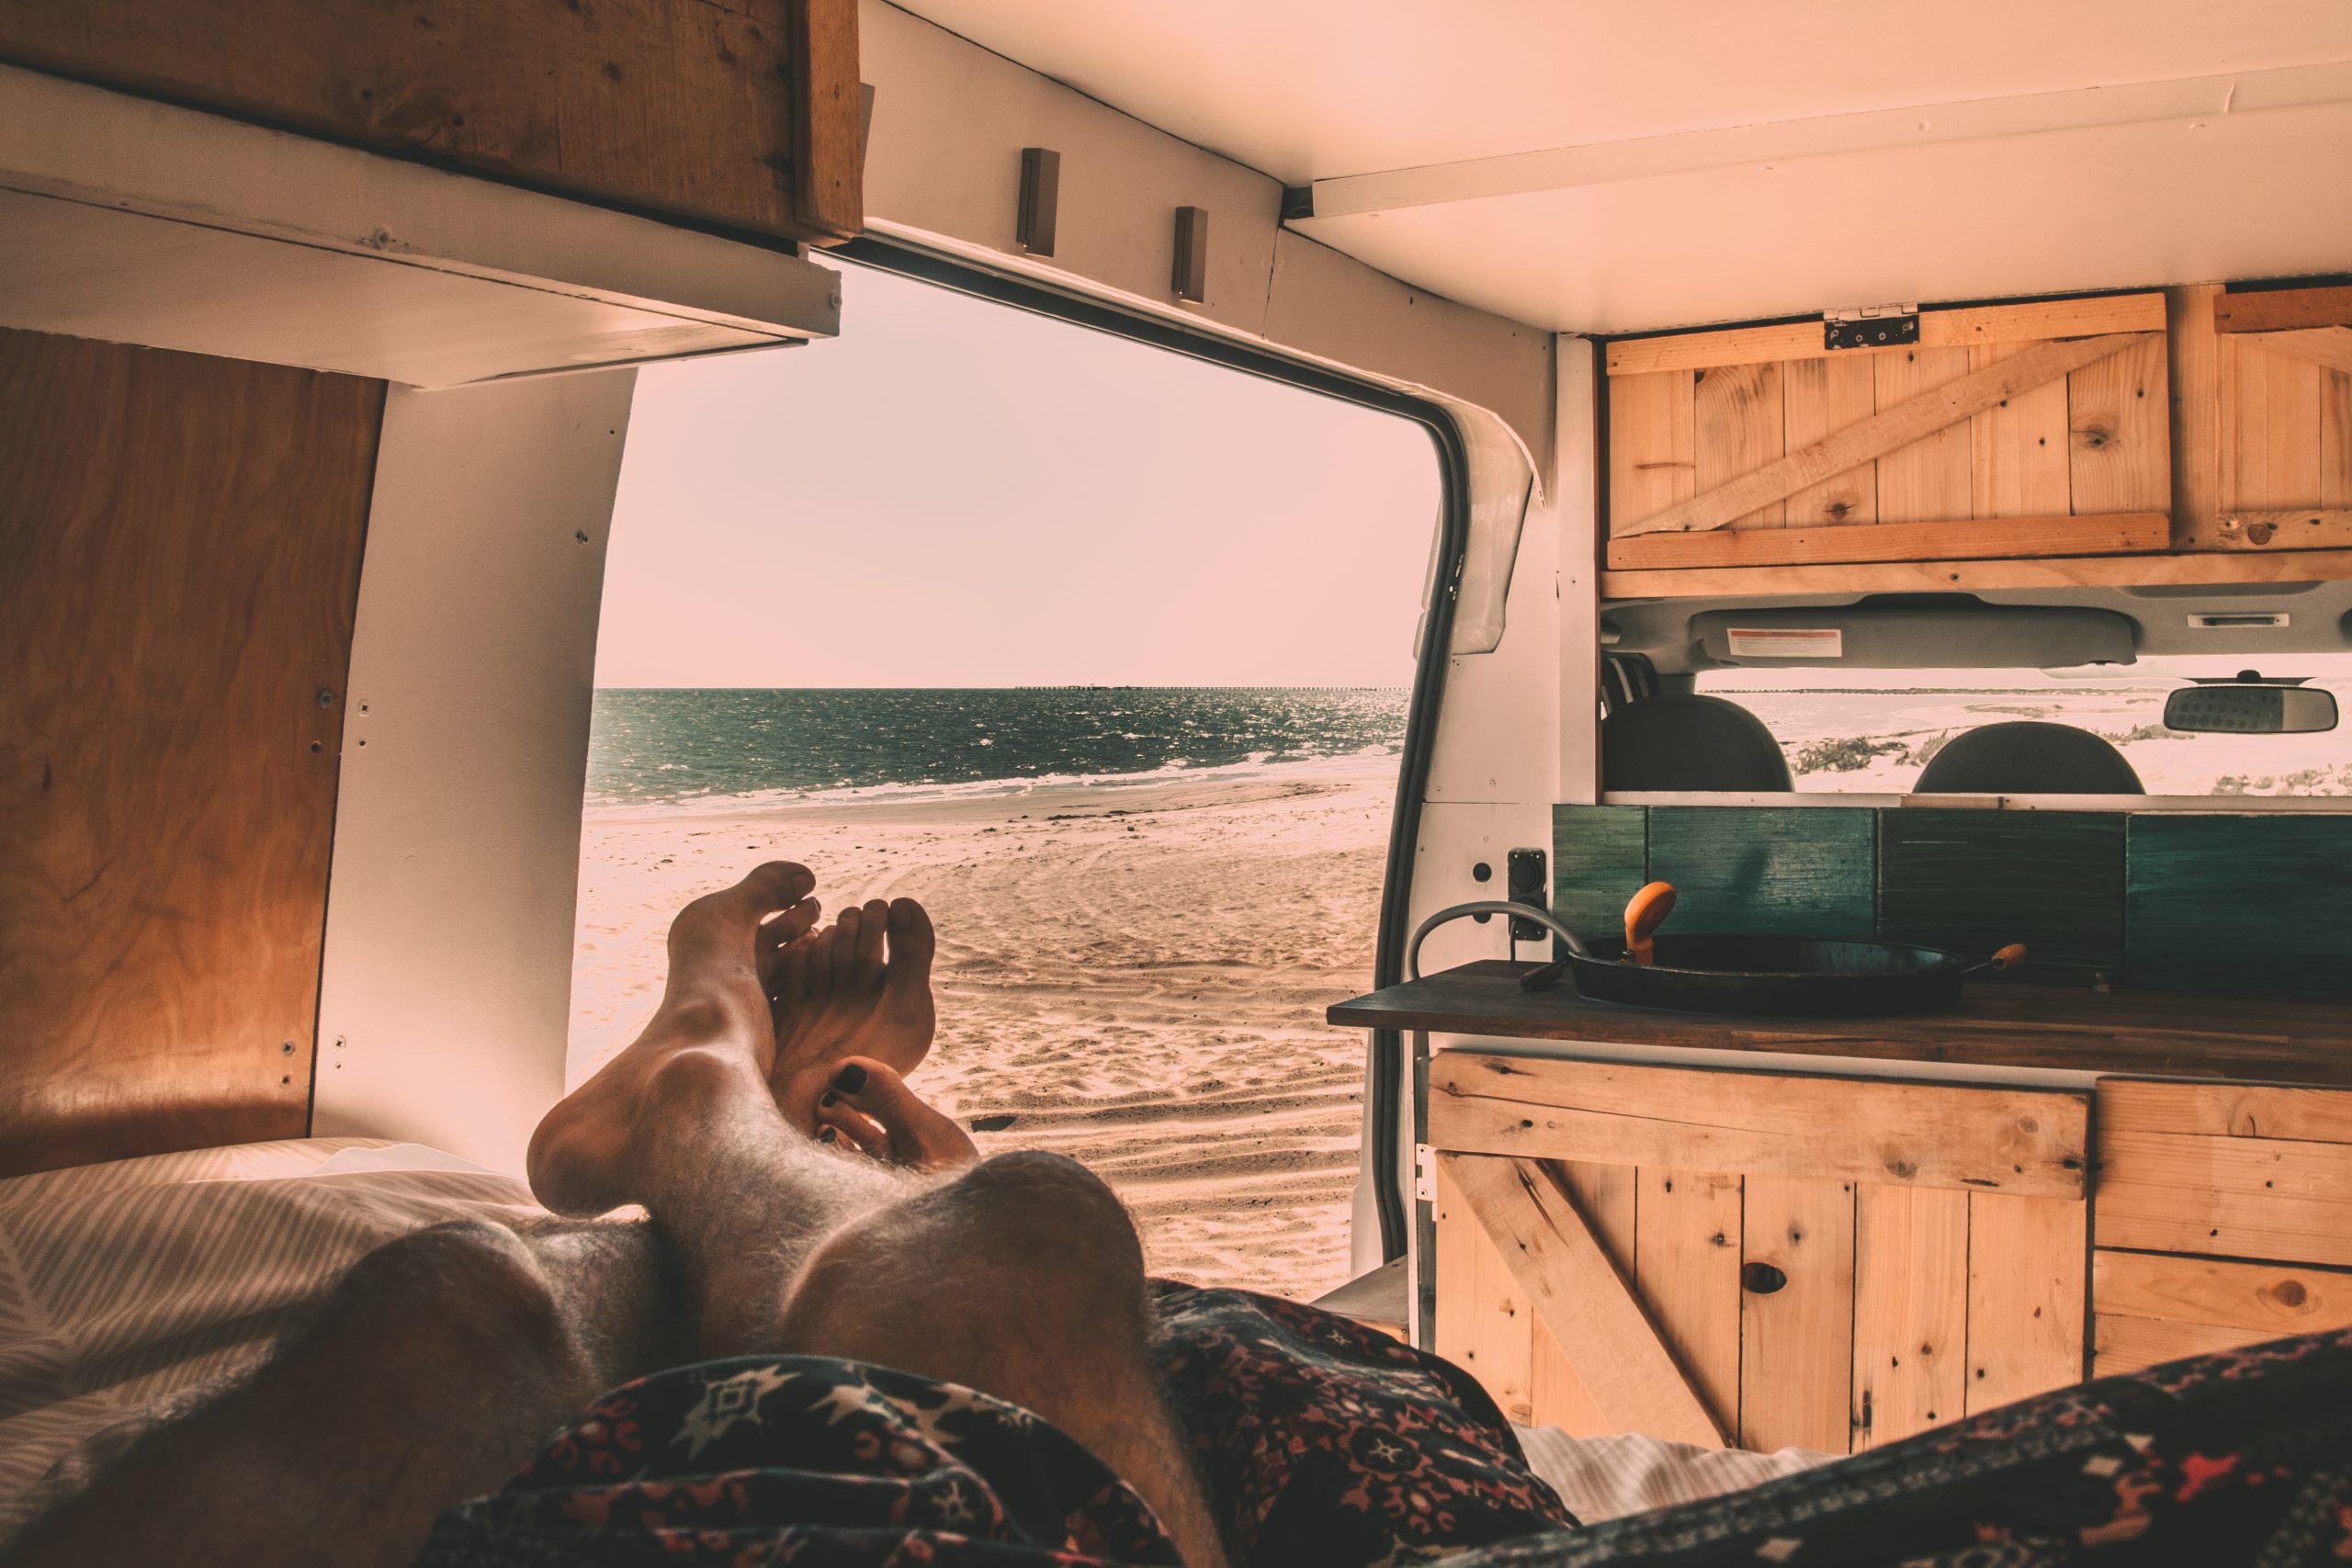
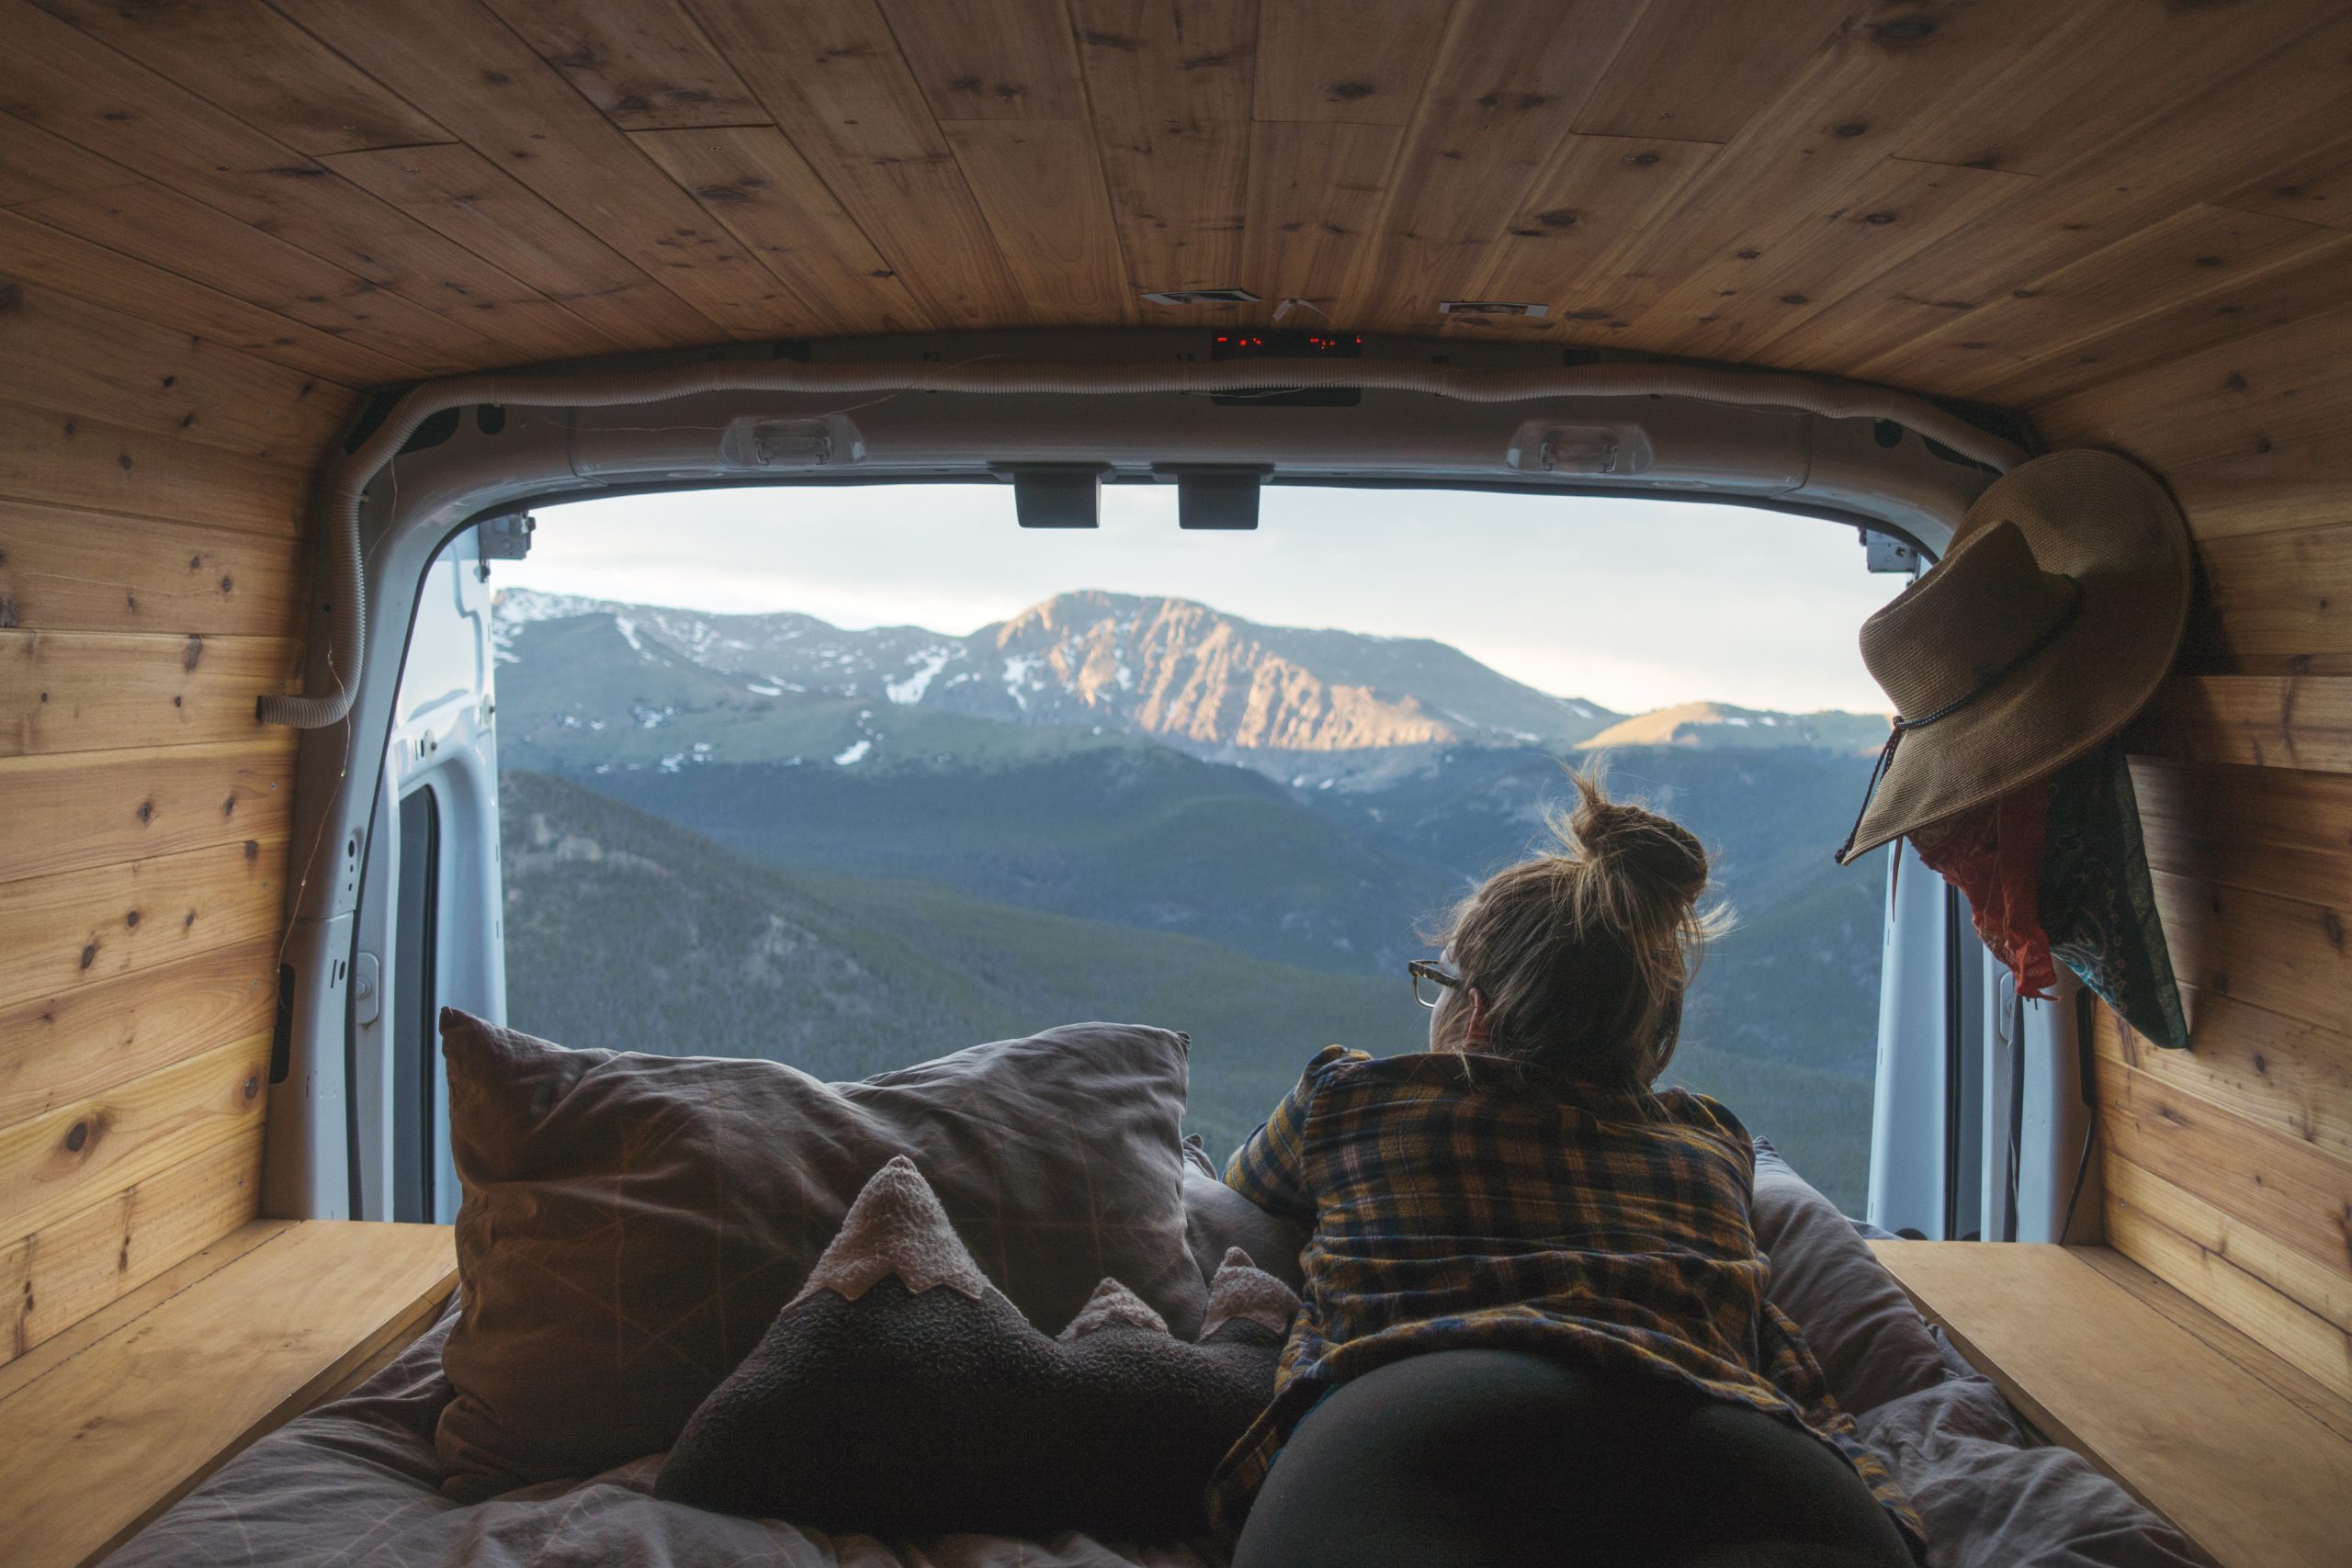
10. Finishing touches
This is the fun part. The planning and hard work are done and it’s time to put your personal touches on your camper van.
Paint colors, décor, and other finishing touches will put your style on the completed project.
Although a small space, there are still lots of ways to express yourself and make your camper van build out unique.
If you are thinking about building out your own DIY camper van, it is very doable. Plan carefully and use the resources available and you will be on the road in no time.
One of the best parts about RVing is engaging with the community of traveling enthusiasts. iRV2 forums allow folks to chat with other RVers online, and get other perspectives on everything RVing, including products, destinations, RV mods, and much more. You can also find more van life articles on Vanlifers.com.
Continue reading: