 Source: shutterstock
The Top Signs Your RV Window Seals Need Maintenance
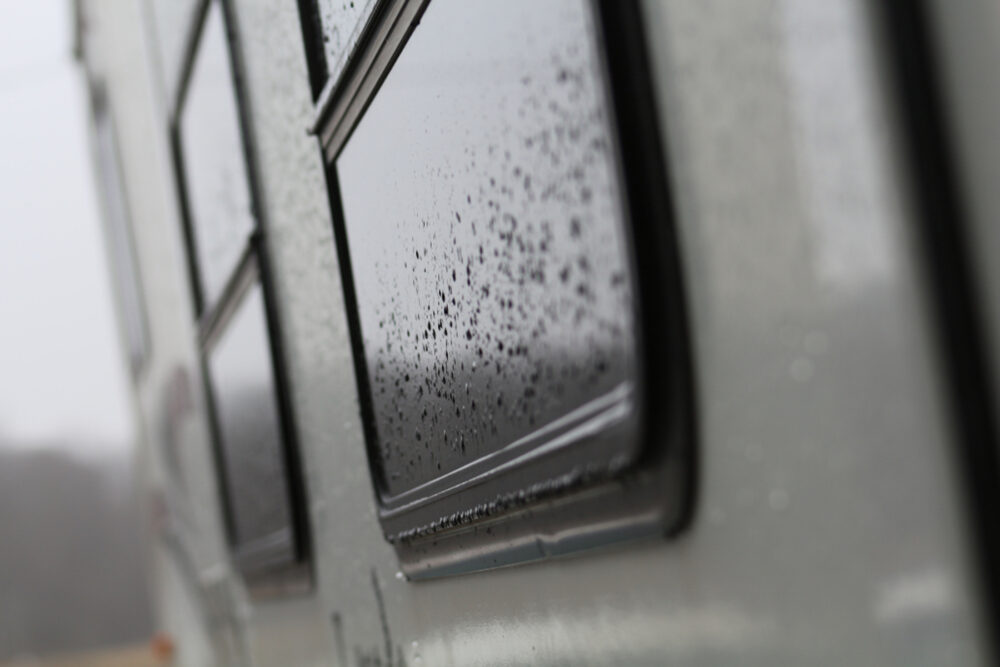
Moisture poses a significant threat to RVs. RV manufacturers are well aware of this, which is why they take precautions when incorporating windows into the sides of their RVs. The installation process for each window is meticulous, ensuring a perfect fit. Following installation, an RV technician seals the edges of the window frame using a special RV sealant. This sealant plays a vital role in preventing moisture from seeping in underneath the window frame and causing damage to the RV.
To avoid costly repairs, it is essential to regularly inspect the window seals on your RV to ensure they are in good working condition. Waiting until visible signs of damage appear, such as delamination near the windows, will only result in expensive repair bills.
In this article, we’ll take a look at what you need to look for when you’re doing your RV window seal inspection. We’ll also let you know the right way to maintain your RV window seals.
What you’ll need
Before you start your inspection, it’s important to have everything you need handy. For this job, here’s what you’ll need:
- A step ladder
- Nalgene gloves
- Plastic razor blades
- 1 tube of flexible silicone sealant
- A caulking gun
- A roll of painter’s tape
- Rubbing alcohol
- Paper towels or a rag
- An old toothbrush
- Paint thinner
How to inspect RV window seals
You’ll want to get up on a ladder to have a good, up close and personal look at your window seals, especially at the top of the windows. Inspect the seals on each window of the RV carefully.
Here are the telltale signs that your RV window seals need maintenance:
- Cracking
- Shrinking
- Peeling
- Flaking
In other words, if the caulking around the edges of your windows looks less than pristine, you will need to replace it. Don’t worry, though. This is an easy job. You don’t need to be an RV technician to do it. Plus, it’s one of the most satisfying jobs you can do on your RV yourself.
How to replace RV window caulking
In most cases, you’ll want to choose clear, flexible, silicone RV window sealant for this job. If you’re doing this job outdoors, pick a warm, dry day when there is no rain in the forecast for at least 48 hours. Take your time carefully at each step. Here are the steps to replacing your RV window sealant.
Step 1: Completely remove the old caulking
This step takes a little time, but it’s worth doing well. Use your plastic razor blade to carefully scrape all the old caulking off.
Metal blades of any kind can really damage your RV’s exterior finish, so don’t use any kind of metal blade to remove the old caulking. Use a small brush soaked in paint thinner to remove any remnants, and then wipe with a rag or paper towel to remove any trace of the old window sealant.
Step 2: Prep the surface
You’ll need to carefully prepare the area next to the window in order for the new window caulking to stick to it. This is where the rubbing alcohol comes in. Soak a paper towel with rubbing alcohol and use it to clean up any residue from the paint thinner. Allow it to thoroughly dry.
Step 3: Mask
Use painter’s tape to mask about 1/8 inch from the edge of the window frame. This will help to ensure your sealant line is neat, clean, and very professional-looking.
Step 4: Apply window sealant
Use a caulking gun to carefully apply sealant. Cut the caulking tube applicator tip at a slight angle, but keep the hole in the tube small to help with the application.
Take your time. When you’re done, a finger or caulking tool dipped in paint thinner can be used to smooth the caulk line and help adhere it between the window and the RV siding. Carefully remove the painter’s tape.
Step 5: Allow to cure for 48 Hours
Most RV window sealants take 48 hours to cure properly. Keep it dry for this time and don’t touch it until it’s done. After 48 hours, clean up any “oops spots” and tidy up your caulk line as needed using a plastic razor blade.
Track your RV maintenance
Make sure you keep track of all your RV maintenance and repairs with an online tool such as RV LIFE Maintenance. Not only can you keep all of your documents in one place, but you’ll also receive timely reminders when maintenance is due to help you avoid costly repairs and potentially serious accidents.
Related articles:
Image Sources
- Rv,Window,On,A,Rainy,Day: shutterstock


I’m going camping with my friends this July, and since we will be borrowing my dad’s RV for the trip, I wanted to have it checked for repairs first before we leave to avoid inconveniences later on. It was a good reminder when you told us to include our window seals during inspection if we want to avoid costly repairs since they play a vital role when it comes to preventing moisture from seeping in underneath the window frame. I’ll take note of this while I look for an auto service to call later for motorhome repairs before we leave for our trip.