How To Fix Broken RV Window Shades
The pleated window shades in many RVs are a wonderful feature—until they’re not. When a string breaks, you’ll need a crash course in how to restring your RV window shades, but it doesn’t happen often and these window treatments are worth the effort to learn how to fix.
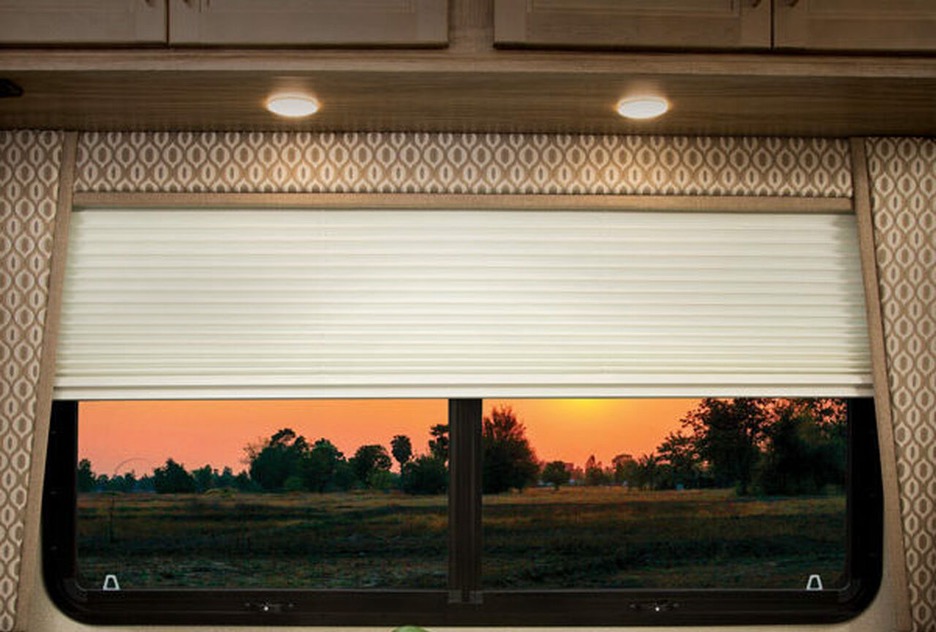
RV window shades provide day and night privacy, remain stationary even on the roughest roads, and are compact and out of the way in either the open or closed position. They don’t blow in the wind or get in the way when you’re seated at the dinette or curled up in bed. Even when the windows are open, the shades stay in place and don’t blow around in the wind.
But if one of the strings frays and breaks, these pleated shades become virtually useless. With a broken string, you can’t raise the shade because the strings provide tension to create the resistance needed to keep the blind in any specific position (fully open, closed, partially closed, etc.). When a string breaks, the tension is gone and the entire shade stops functioning as it was designed.
Restringing RV window shades
The good news is that you can replace the broken string to repair your shade, and it is much easier than you might imagine. There are many videos on YouTube to guide you through the process, including one below. Additionally, when you buy a replacement kit, it comes with clear written instructions and illustrations that show you how to restring either a night shade or a day and night shade.
Basically, the string starts at the top of the shade in the track of the top rail, then the string drops down through small holes in every pleat to another track that separates the day shade from the night shade. The string crosses to the other side of the shade by traveling across the mid shade rail, continues through the small holes in each pleat to the bottom track, where it crosses again to the side of the shade where it originally started, and then it extends through a hole in the bottom rail where it can be tied off to a wall anchor.
What I just described is for the day and night shade with only four vertical sets of holes in the pleats. Other shade configurations exist, but the principle is the same.
Other types of RV window shades
A very narrow shade may only have two sets of vertical holes (one on each side of the shade). A night-only shade, typically found on the bedroom windows, does not have the mid rail. Wider shades may have more than four sets of vertical holes.
The string crosses over from one side of the shade to the other side along the top, middle, and bottom rails, and this crossover, coupled with the tension in the string, helps keep the shade level when it is being raised or lowered.
I have mentioned the path of one string, but the reality is there are at least two strings in each shade, one string for each side of the blind.
Repair kits for restringing shades
This whole process sounds confusing, but let me assure you that if I can do it, anyone can. I had an opportunity to fine-tune these skills by the time we traded in our 1999 Rexhall motorhome because over time I needed to restring almost all the shades.
To their credit, the shades lasted about 18 years before they needed to be restrung, but when one string began to fray, I knew it was an indication that the rest of them were also worn out. Sure enough, within about a year the rest of them needed to be replaced.
The repair starts by buying a pleated shade restring kit, or if you want to reuse all the hardware already on your shade, you can just buy the braided cord in a roll from Amazon. Be sure you buy the right color to match your shade. The string comes in beige and white. This was a bit confusing for me because our shades were neither. They were some tone in-between white and beige, so I chose the white string and it looked fine.
If you have never restrung one of these pleated RV window shades before, I suggest you pour yourself a cup of coffee, clear off a workspace on the picnic table or bed, and take your time to review the written directions that comes in the kit. Watch YouTube videos a couple of times so you understand the overall objectives. It can get a little confusing with old cords and new cords going in all different directions, and top, bottom, mid blind rails and end caps all lying around your work area, so try to keep things in order and be organized.
Use a wire to pull the cord through the holes
When I did this work, I laid the blind out on the bed and kept the top, bottom, and mid rails in their relative positions while I worked with the string. Here is a tip: To easily get the string through all the vertical holes, pinch the shade into the collapsed position and push a thin wire all the way through one set of holes, then bend the wire over a section of the string and tighten up the bend so it easily goes back through the holes, dragging the string with it.
If you follow that procedure on every set of vertical holes, the whole restringing process goes much faster. Be sure the strings cross from one side of the shade to the other by laying it inside the mid and bottom rails, as illustrated in the video and written directions.
If you forget to cross the strings to the opposite side of the blind while you are restringing the shade, the blind will not stay level as you raise or lower it. Be sure to leave plenty of cord at the bottom of the shade when you’re done because you’ll need to anchor the cord to the wall, and that is when you can adjust the string tension to achieve the desired resistance. If the blind does not stay up when you raise the shade, increase the tension. If the blind is hard to raise, decrease the tension.
Remove decorative window treatments
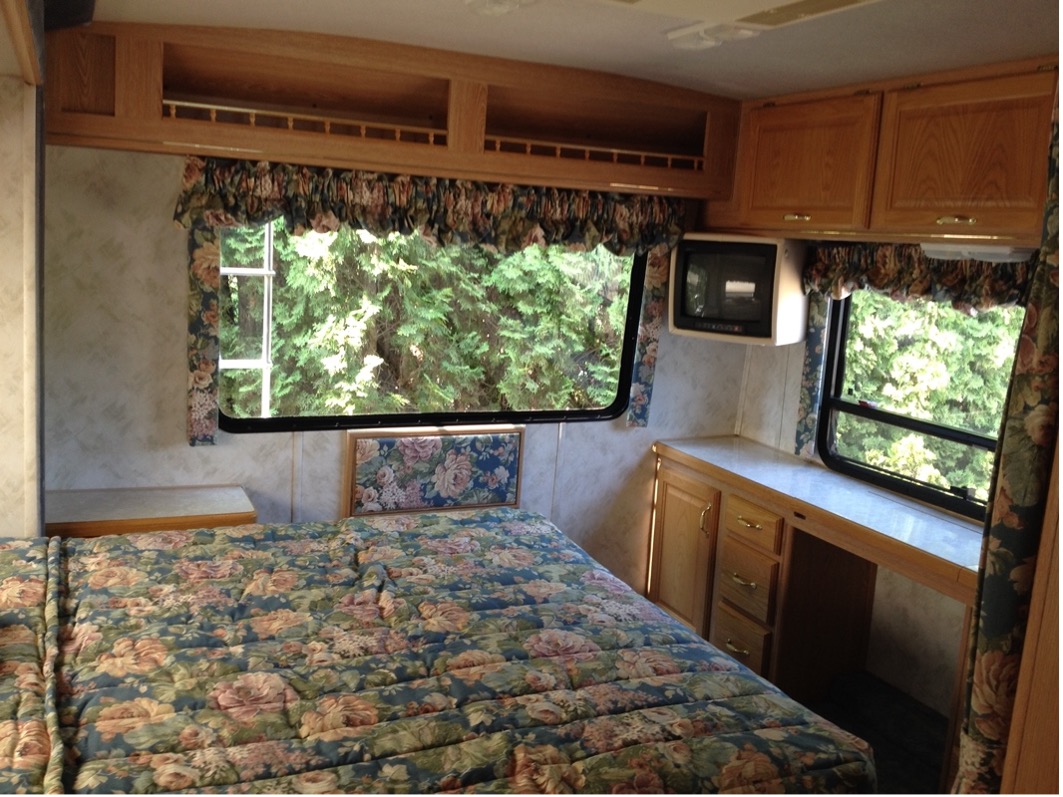
Before you can get to the shade and take it apart for restringing, you will probably need to remove the decorative window trim. In our Rexhall, that trim was so tightly installed under the overhead cabinet that I couldn’t remove either the living room or dining room window’s trim. That restricted my access to the top rail clips that held the shade in place, and that was the most difficult part of the repair.
It was an awkward location, and there was virtually no room to release the rail clips or to reconnect them to the top rail at the end of the restringing process. The window trim was in the way, but I simply could not remove it. However, when I restrung the shades on the windows where I was able to remove the decorative window treatments, the whole process was a breeze.
Restring vs replace the shade
If you’re thinking it might just be easier to buy new RV window shades rather than restring the existing shades, I’m not sure that is entirely accurate. The shades in your RV are specifically fitted to each window, and the color of all your shades have faded over time, so even if you can find the perfect size to replace your broken shade, the new shades might not match the color of the other ones.
Additionally, when I did this work in our older RV, the most difficult part of the whole repair was releasing and reattaching the top rail clips that are used to hold the shade in place over the window. And that process will still need to be done if you buy a new shade.
Conclusion
The bottom line is restringing RV window shades is certainly doable, even for people who are not particularly handy. Start with the right repair kit, have a clear workspace, stay organized, and take your time; you can restring your RV window shades.
Make sure you keep track of all your RV maintenance and repairs with an online tool such as RV LIFE Maintenance. Not only can you keep all of your documents in one place, but you’ll also receive timely reminders when maintenance is due to help you avoid costly repairs and potentially serious accidents.
Related articles: