RV Shower Remodel Tips & Tricks
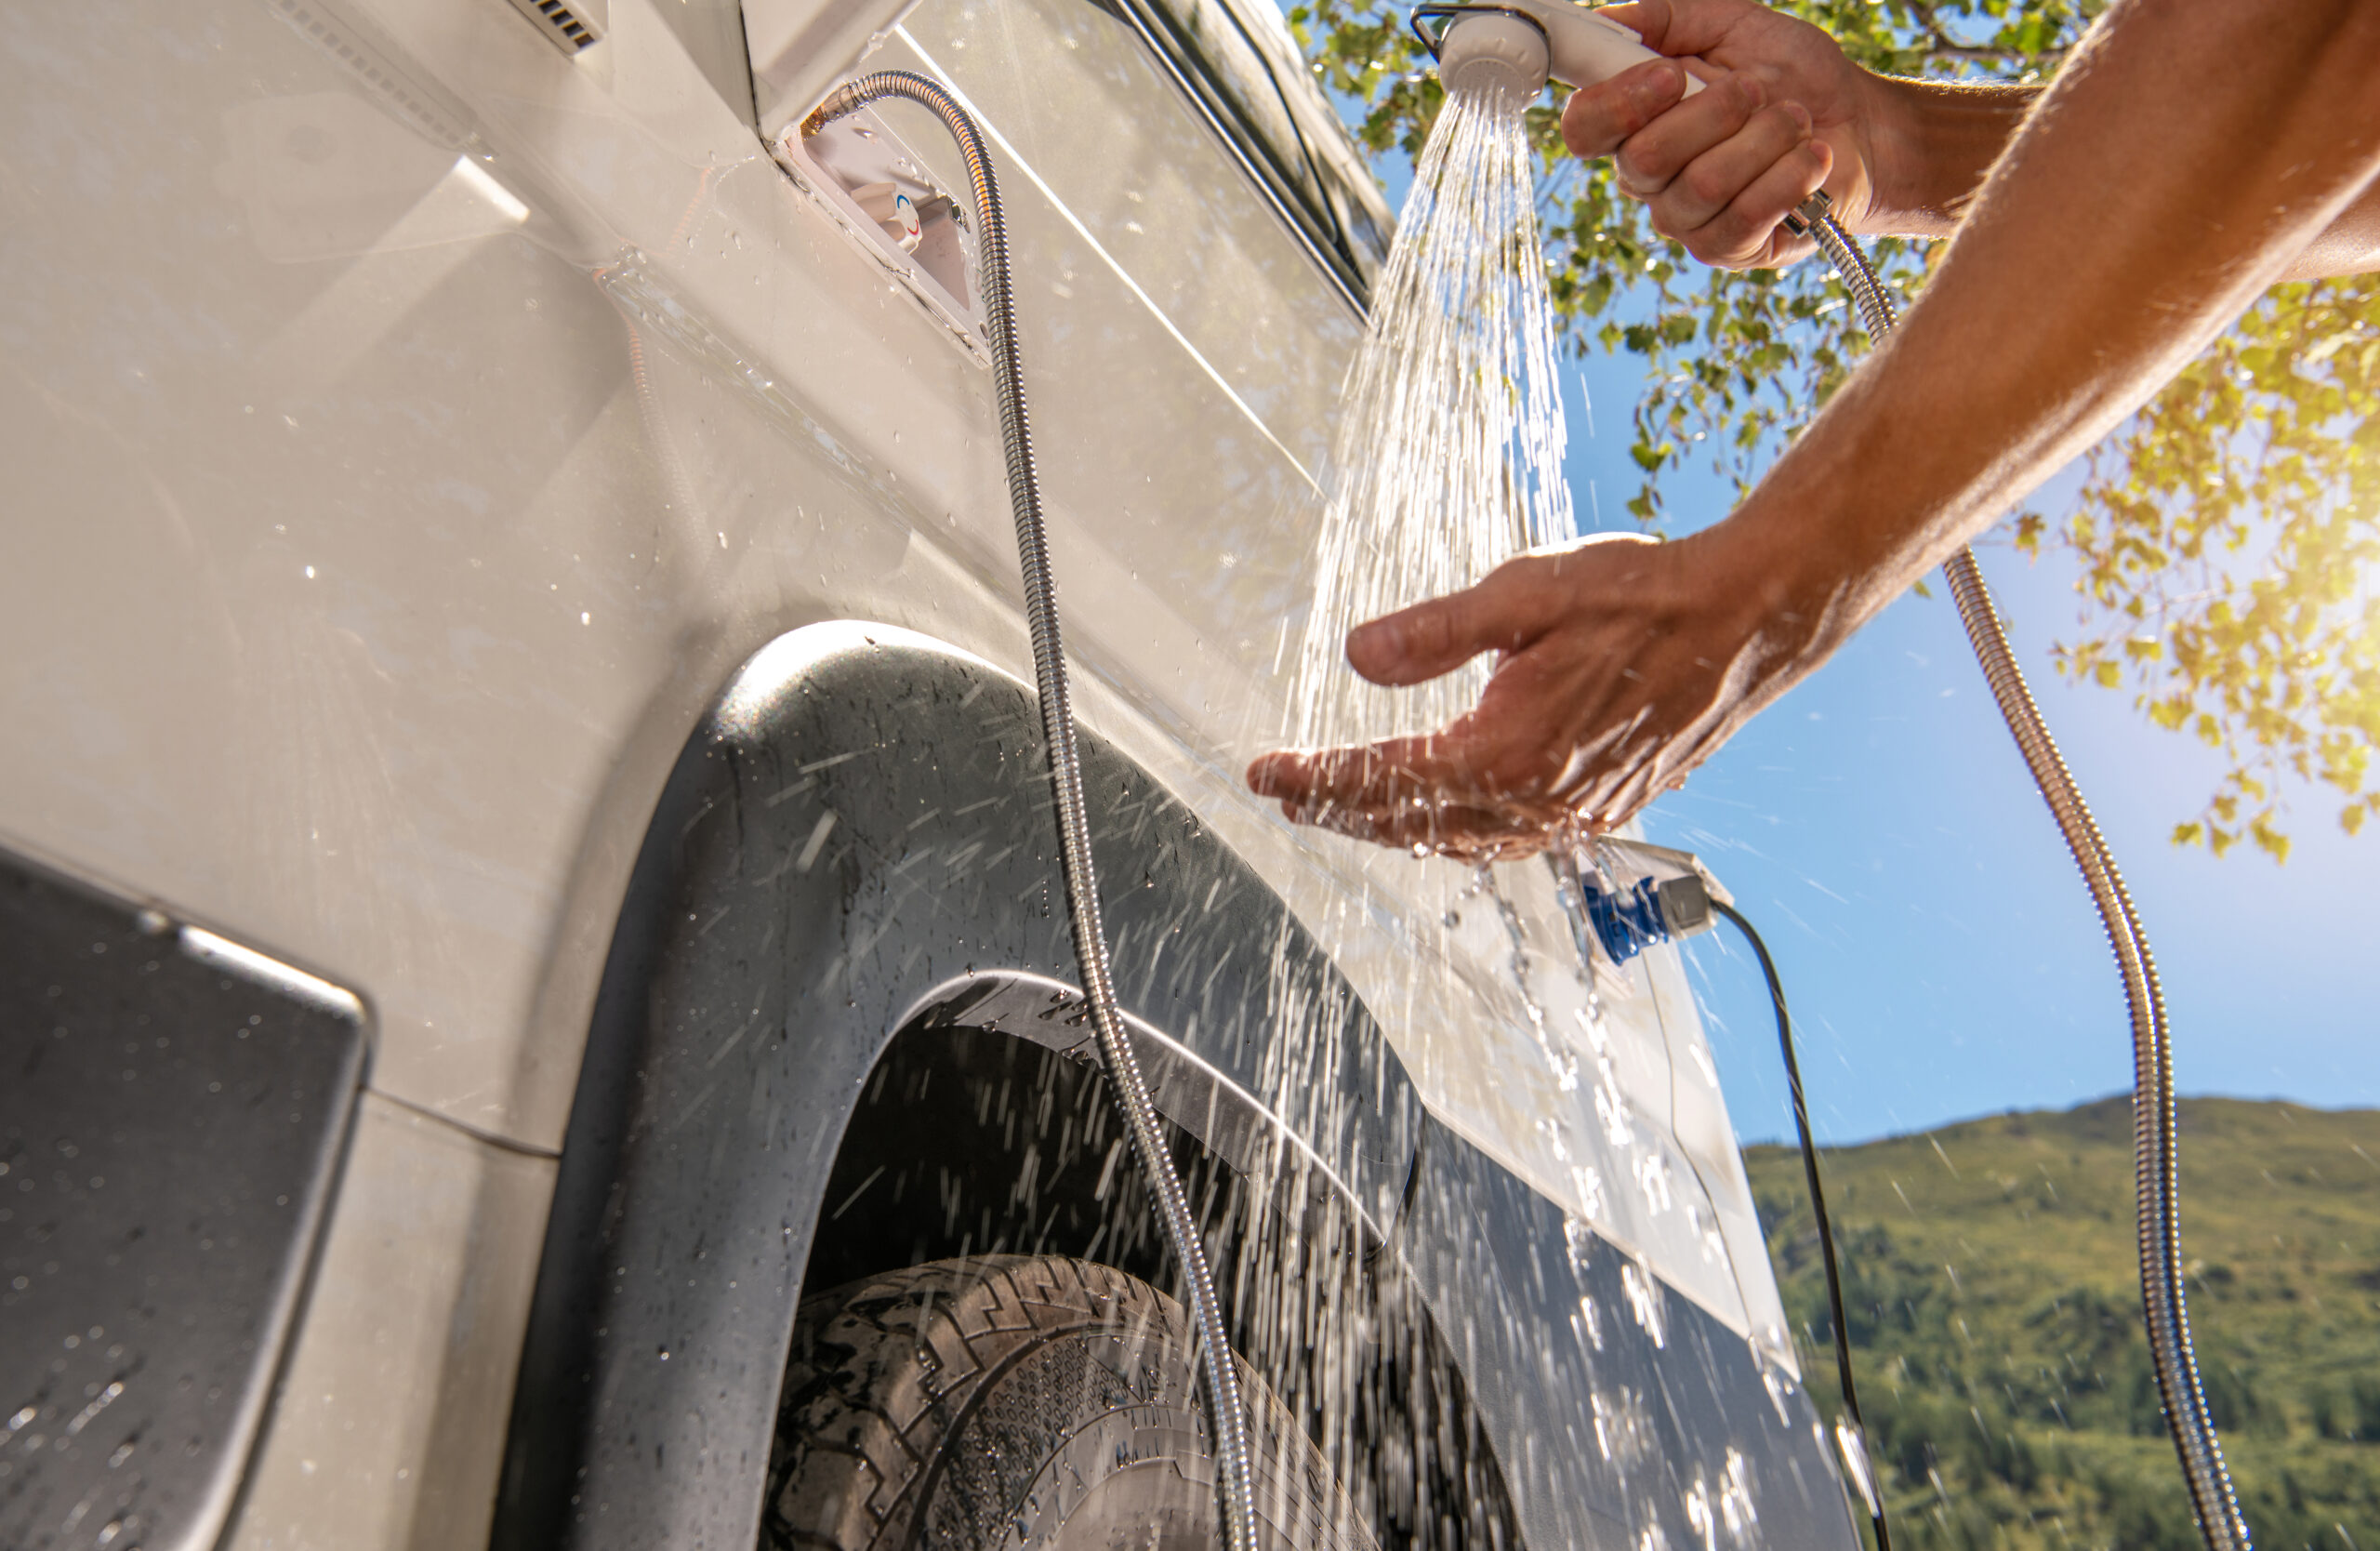
How cool is it that, as an RV owner, you can take a shower no matter where you are? I mean, we’ve showered in Walmart parking lots, in the middle of the desert, and in my grandma’s front yard, and we never once felt like we were doing something unusual.
Yes, having a bathroom that follows you around the country is definitely a major bonus when it comes to owning an RV.
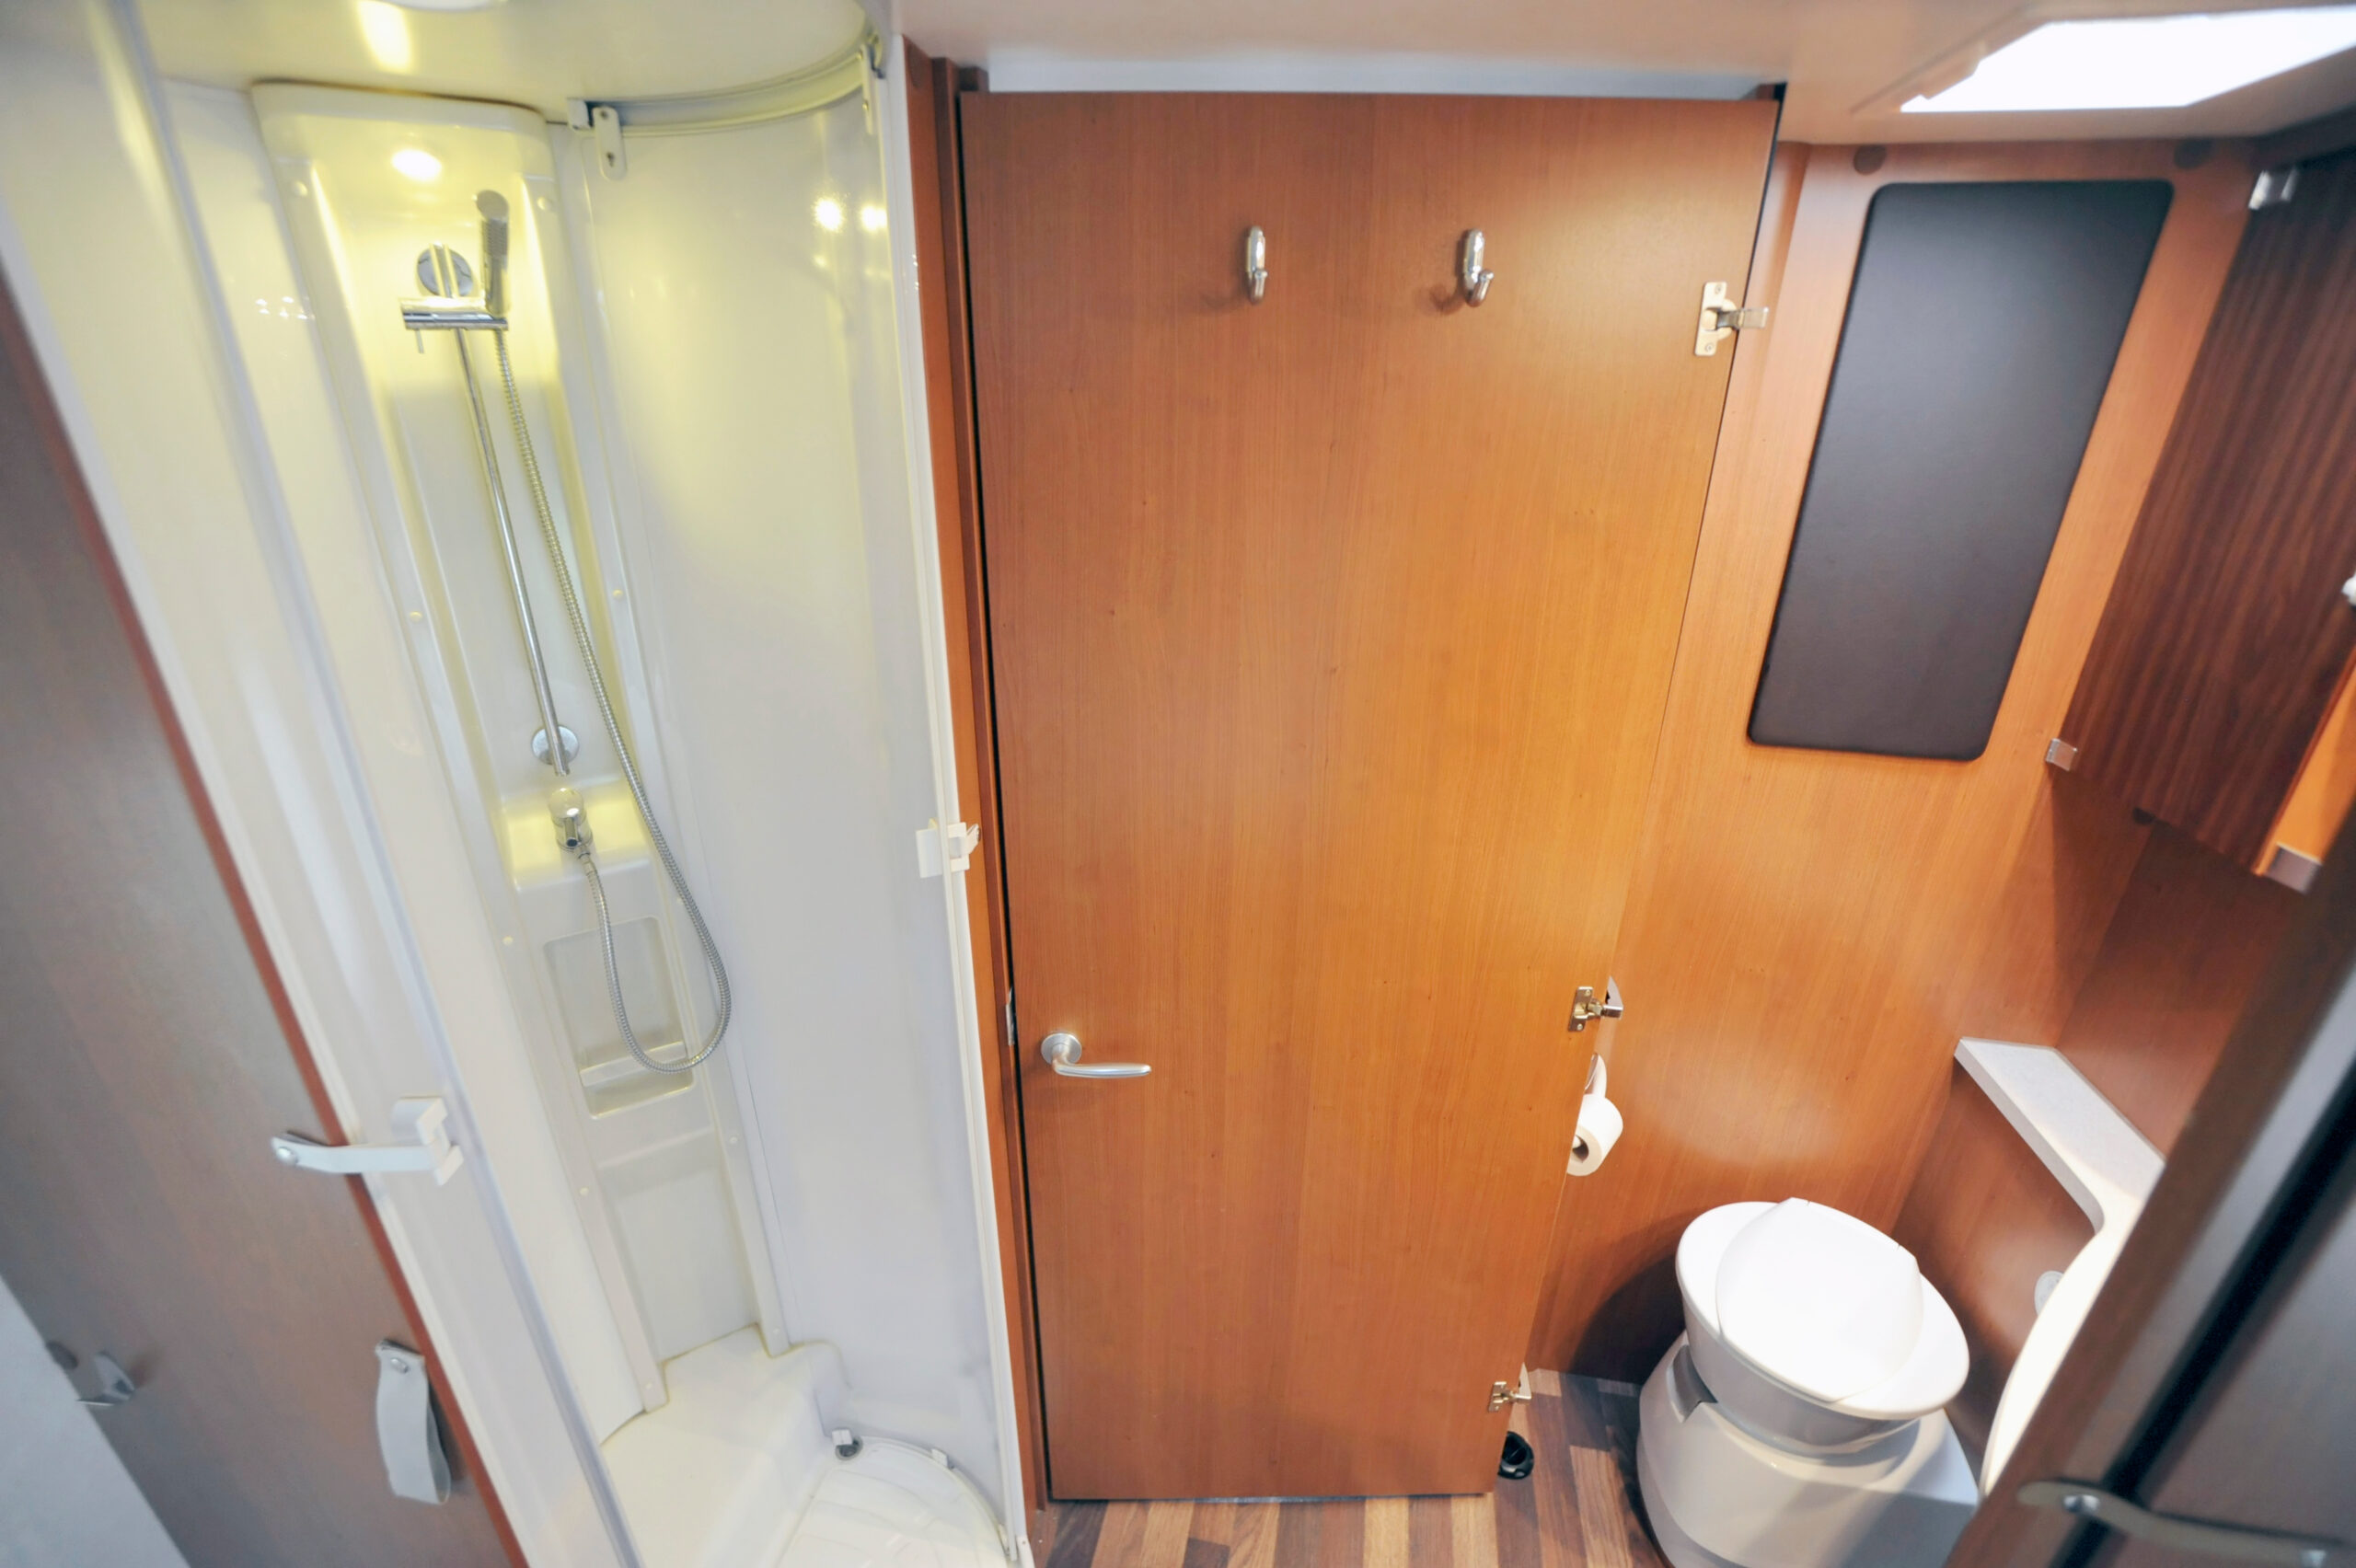
Unfortunately, RV showers aren’t exactly the most durable things out there. They tend to yellow over time, and many RV shower pans get cracked after several years of use. Additionally, the showers in older rigs tend to be pretty dated. The best solution is an RV shower remodel!
If you’re wondering how to remodel an RV shower, you’ve come to the right place. In this article, we will address this question so you can make the shower in your home-on-wheels look better than ever.
Replace the RV showerhead
Our first suggestion on how to remodel an RV shower is a super simple and inexpensive option. Simply replacing the RV showerhead can actually make a big difference when it comes to how your shower looks.
Not only that, but if you install the right showerhead, you might even get better water pressure while simultaneously cutting back on the amount of water you use for each shower! This is awesome for boondockers, but it is also useful for those who tend to run out of hot water mid-shower.
In our opinion, the best showerhead you can install in an RV is an Oxygenics product. These look nice, give excellent water pressure, and use less water than most other showerheads out there.
Hang a new shower curtain
Another super easy thing you can do to improve the look of your shower is hang a new shower curtain. If your shower is currently sporting outdated or broken shower doors, consider removing them entirely and replacing them with a pretty curtain. Meanwhile, if you’re still using the original RV shower curtain, something with a bit more personality (like this curtain) is sure to brighten the space.
Really, any curtain you find will work, and a regular tension rod is just fine as long as you make sure to grab the right size. That said, we really like this adjustable curved curtain rod that gives you a bit more space when showering.
Replace other shower accessories
If your shower is home to a towel rod, soap dish, or other accessories, consider updating these as well to improve the look of your RV shower.
Replace the bathtub or shower pan
Want to dive a bit deeper and learn more about how to remodel an RV shower? The next step is to replace the bathtub or shower pan. This is a bigger job for sure, but it is definitely a project most handy people can do themselves.
New RV bathtubs and shower pans can be found on Amazon or in many big box stores.
The job includes the following steps:
- Shut off the water supply.
- Remove the shower curtain.
- Remove accessories and plumbing fixtures.
- Take out the tub surround (see section below) and the apron retainer strip.
- Disconnect the drain.
- Remove the old bathtub.
- Attach the downspout to the drain.
- Seat the new bathtub.
- Press down to ensure firm seating.
- Re-install surround.
- Seal everything with silicone.
- Replace fixtures and accessories.
- Hang shower curtain.
- Check for leaks.
This article gives more detail on how to replace an RV tub, and the video below is a great visual reference:
Get a shower surround
While you have the bathtub or shower pan out, it just makes sense to replace the old shower surround. In some cases, older and less expensive RVs don’t even have a shower surround. If this is the case in your rig, you will definitely want to add a waterproof shower surround in order to protect your walls.
New RV shower surrounds can be purchased from Amazon here.
To put in a new shower surround, follow the steps below:
- Shut off the water supply.
- Remove the shower curtain.
- Remove accessories and plumbing fixtures.
- Measure and mark the placement of water hoses.
- Cut out holes for the hoses.
- Test the placement of the surround to ensure cutouts are correct.
- Apply a liberal coating of very strong glue (we like Gorilla Glue), ensuring all edges are well coated.
- Place the surround in the shower.
- Use a paint roller to ensure the glue sticks to the walls.
- Place screws around the edge of the surround.
- Stick painter’s tape around the edges of the surround.
- Allow to dry for 24–48 hours.
- Remove the tape.
- Caulk around all edges.
- Replace plumbing fixtures and accessories.
- Test for leaks and problems.
This article gives more details about the process, and the video below is a good visual for those who plan to take on this task:
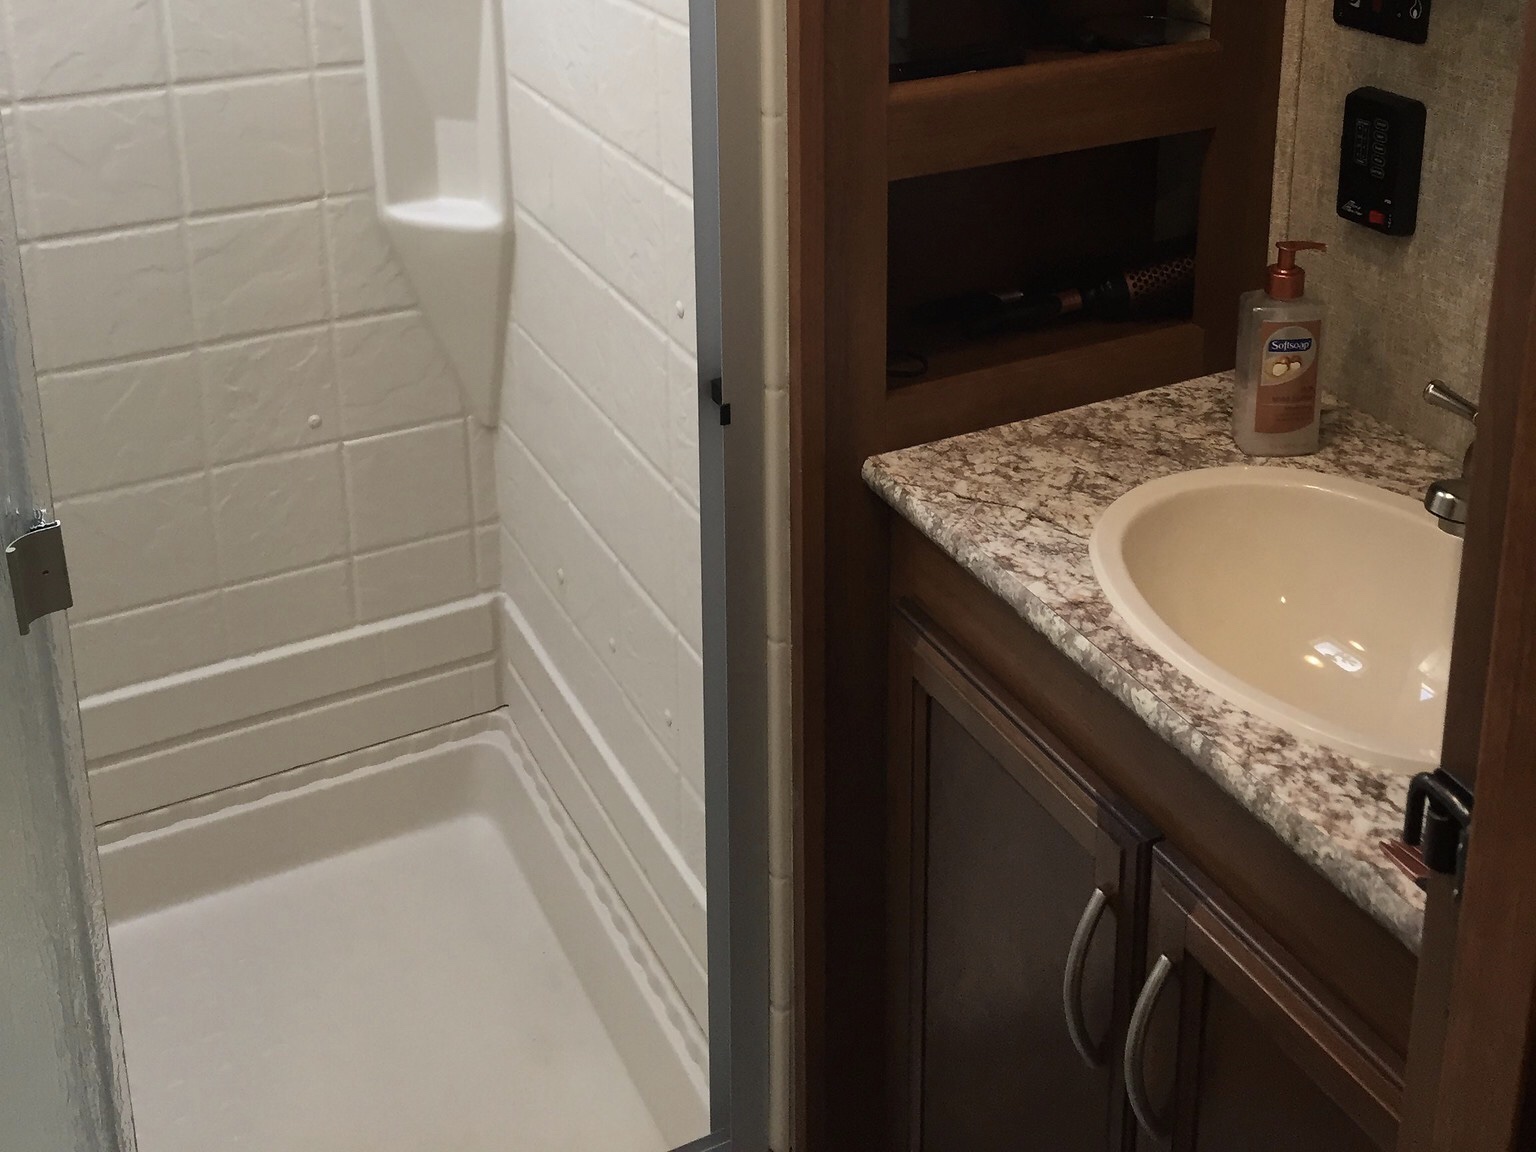
Consider using shower paint
If you want to get rid of a yellowing shower, or simply update the look of your RV shower without all the work and cost involved in replacing the tub and the surround, there is another option for those who are short on cash or short on time but need to know how to remodel an RV shower: update your bathtub and tile paint.
That’s right—you can paint your entire shower stall for a fresh new look that will actually hold up to soap and water. In fact, as long as you aren’t dealing with a crack in the tub or surround, this should do the job quite nicely.
To paint your RV shower, be sure to follow the steps below:
- Cover or remove your showerhead, drain, and other fixtures.
- Clean your shower and walls well using a degreaser.
- Remove old caulking.
- Sand everything you plan to paint.
- Turn off all propane appliances, ventilate the RV (use your roof vent if you have one), and put on a face mask and gloves.
- Spray on the first coat of tile paint.
- Allow to dry.
- Spray on a second coat of tile paint.
- Allow to dry.
- Remove tape and coverings or replace fixtures.
- Reseal everything with silicone.
This article provides some helpful hints, and the video below is nice to watch before you dive in:
Clearly, there are plenty of options when it comes to how to remodel an RV shower. Which one(s) will you choose?
RVers looking for valuable how-to information have learned to go to the experts. Forums such as iRV2.com and blog sites like RV LIFE, Do It Yourself RV, and Camper Report provide all the information you need to enjoy your RV. You’ll also find brand-specific information on additional forums like Air Forums, Forest River Forums, and Jayco Owners Forum.
Related articles: